
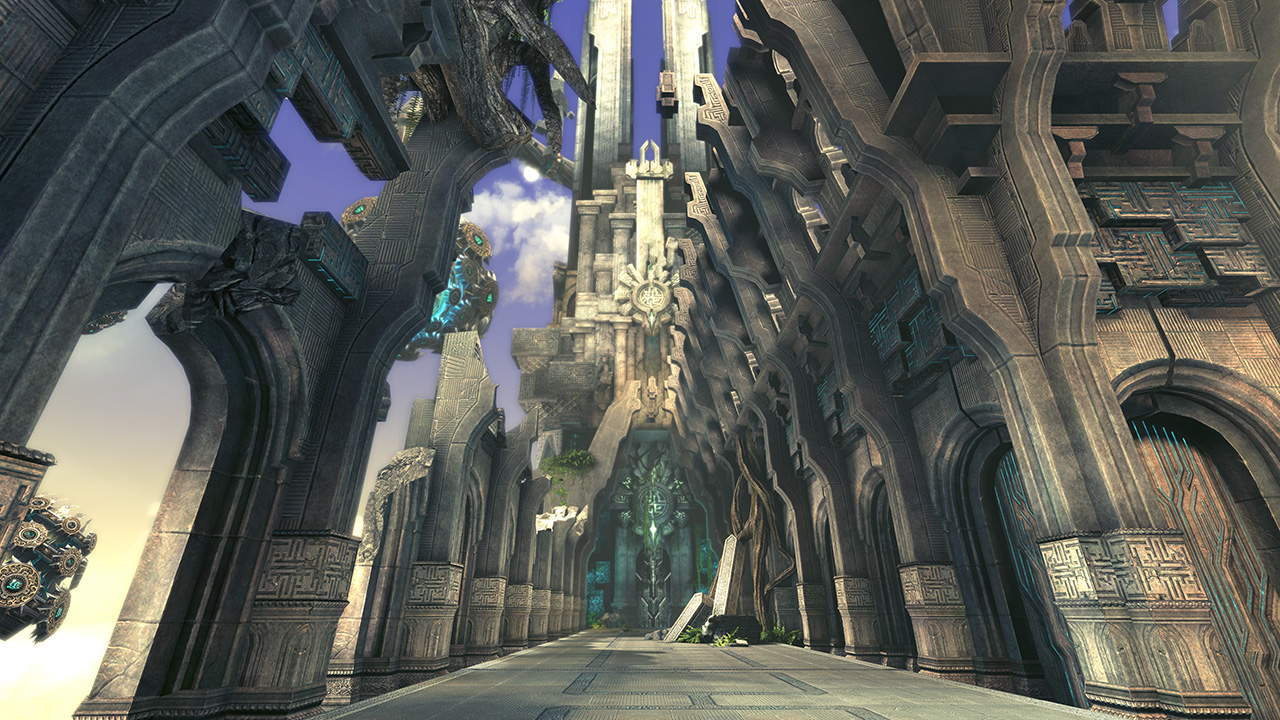
It seems the clown always has the last laugh. Following Be Ido's fall in Naryu Labyrinth, he has discovered a new Naryu treasury, and leads the Talus Army to excavate the Sundered Nexus.
Requirements/Recommendations:
- Act IV, Chapter 10: The Gates Open
- 2x stun, daze, and knockdown for the first boss.
- Block/Counter/Parry/Deflect skills for the first and final bosses.
- Key to get past Floor 2.
- Lost Hongmoon Secret Technique - Volume 3, Chapter 1 - Unlocks a Hongmoon Skill
- Shadovv : Writer
- Praetor19 Sundered Labyrinth Showcase
- AeonWcs Sundered Nexus Boss Guide
Floor 1:
The first room contains the first miniboss, a Destroyer Chief Investigator. He is surrounded by 12 adds: Investigators Yi, Arh, San, Sih, Wu, Liu, Qi, Ba, Jio, Shih, Shiyi, Shihar in a counter-clockwise formation. Fortunately, all adds are at 1 HP, and are currently meditating, but are immune to damage.
Take the bomb in the entrance corner of the room. One of the adds, when hit with the bomb, will despawn all the adds and awaken the boss. However, every add hit with a bomb will heal everyone in the room by 12% of their health. The correct add is randomized, but there is a way to tell which is the correct add:
- Throw the bomb at Qi (directly behind Chief Investigator). If he receives Knockdown status, the correct add is somewhere on the clockwise side from him. If he receives Aerial status, the correct add is somewhere on the counter-clockwise side.
- Note that there is no bridge between Yi and Shihar; Yi will always receive Aerial and Shihar will receive a Knockdown.
- Note that there is no bridge between Yi and Shihar; Yi will always receive Aerial and Shihar will receive a Knockdown.
- Depending on how Qi reacted:
- If Qi received Knockdown, throw the bomb at Sih.
- If Qi received Aerial, throw the bomb at Shih.
- If Qi received Knockdown, throw the bomb at Sih.
- Depending on how Sih/Shih reacted:
- Sih:
- If Sih received Knockdown, throw the bomb at Arh.
- If Sih received Aerial, throw the bomb at Wu or Liu.
- If Sih received Knockdown, throw the bomb at Arh.
- Shih:
- If Shih received Knockdown, throw the bomb at Ba or Jio.
- If Shih received Aerial, throw the bomb at Shiyi or Shihar.
- If Shih received Knockdown, throw the bomb at Ba or Jio.
- Sih:
- If the bomb was thrown at Arh:
- If Arh received Knockdown, throw the bomb at Yi.
- If Arh received Aerial, throw the bomb at San.
- If Arh received Knockdown, throw the bomb at Yi.
- If you have followed each step to the letter, there should only be one person remaining. Throw the bomb at him and he should awaken the Chief Investigator.
After killing the Chief Investigator you'll make your way into a corridor containing statues that cannot be killed and repeatedly spit fire; you'll want to glide over them. At the end is a door guarded by a pair of Terracotta Soldiers, the fire spitting statues will despawn after these are killed.
In the next room is Force Master Automaton Machinist Somori. At 80%/60%/40%/20%, he will produce a field-wide unblockable AoE shockwave that does no damage but removes 100% focus and gives him 100% evasion for 1 second after, any iframe skill will prevent the focus drain from occurring. At this point he will also summon Sonou, a pair of unattackable Minotaur mobs who repeatedly charge around the room, as well as two blue training dummies who don't do anything. Killing the blue dummies will change them to red dummies, which causes the Minotaur mobs to charge at them and despawn.
The path randomly splits here: a direct route to the boss or a much longer route.
The direct route is a repeat of the previous corridor.
The longer route contains two corridors of Vipercaps, Plague Mites, and a pair of Terracotta Soldiers that despawn the Vipercaps and Plague Mites when killed. In between the corridors is a room of 6 switches, one of which opens the door, while the rest will spawn any of the following; Vipercaps, Spiders, Scorpions, stun lasers, or landmines. The correct switch is always random, and unlike Chief Investigator there is no way to tell the correct switch.
The two paths connect to a descending shaft, with multiple layers of electrocuting floors. Use your windwalking skills to descend through the small gaps on each floor to reach the bottom. A treasure chest appears at the bottom and grants an achievement to the person who opened it, but despawns if players are not fast enough to reach it; a message is announced when there are 30, 20, 10, and 5 seconds left before it despawns. At the bottom of the shaft is a lever to open the door which also removes the electrical effect on the floors above.
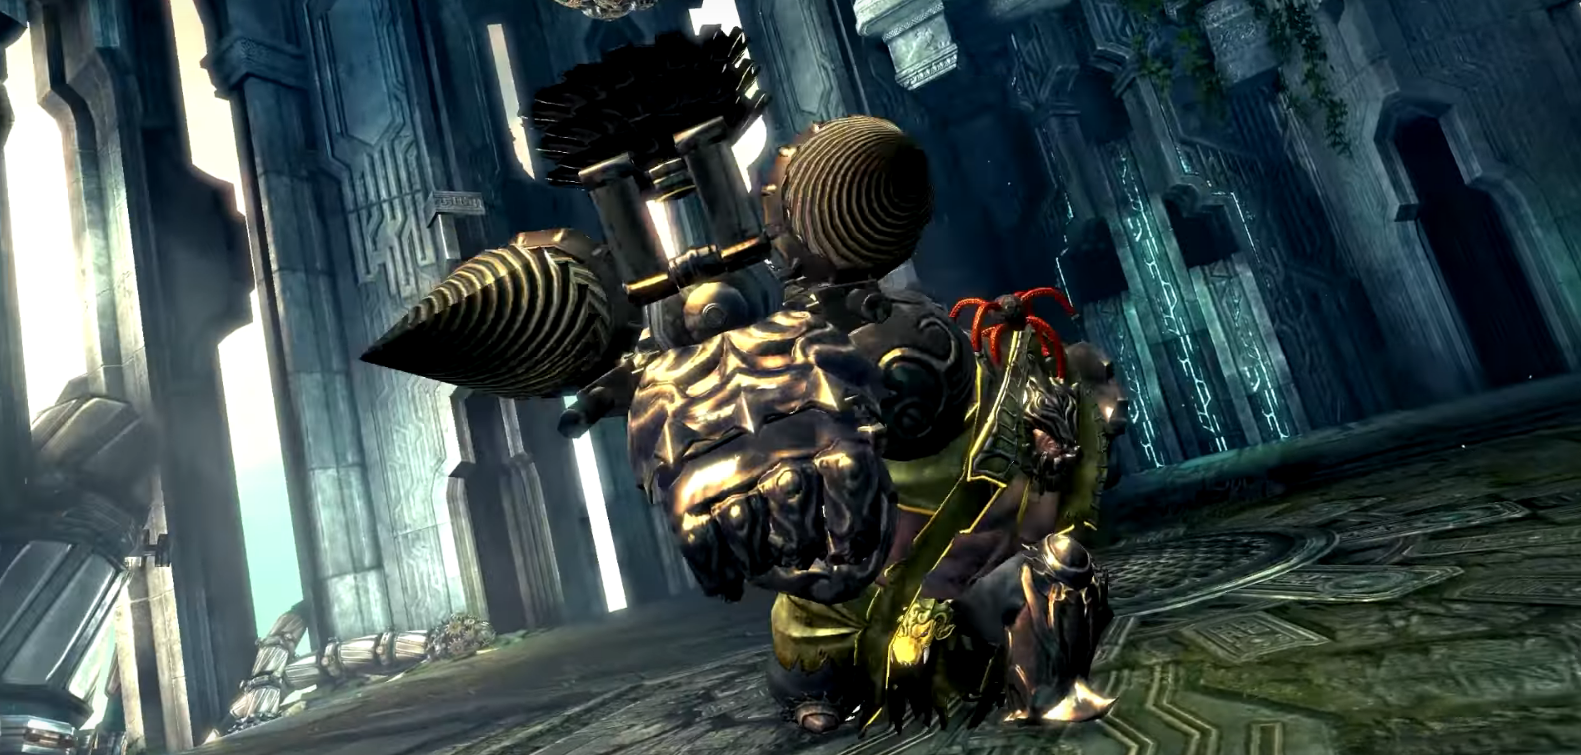
Drill Sergeant:
HP: 5,180,000
Enrage: 6:00
CC: 2x
2x stun, daze, and knockdown are required.
Despite having a similar character model to Linam/Muso from Lumang Stronghold and Yong/Ugum/Yeomchul/Hwang Po of Soulstone Plains, the Drill Sergeant uses entirely different attacks.
Rotation:
- Frontal linear arm swing. Blockable.
- Frontal linear 5-hit drill thrust. Each hit stacks Bleed for small damage over time and the last hit causes Knockback and Knockdown. Blockable.
- Three area of effect Stomps. The third hit is slightly slower than the first two and will knock down anyone hit. Cannot be blocked.
- Frontal linear arm swing.
- Frontal linear 5-hit drill thrust.
- Charges in the direction of the tank, each hit inflicting bleed and knockdown. Must be stopped with Block/Counter/Parry/Deflect. If the boss reaches the wall he will throw four minisaw projectiles at all party members.
If the tank stands 9 meters or farther away:
- Fires four minisaw projectiles at random people, inflicts knockback, knockdown and bleed.
- If the tank is still too far, Drill Sergeant fires an unblockable area of effect cannon at the tank, inflicts knockback and knockdown. May repeat this attack once more.
Power Absorb:
Every minute, Drill Sergeant will enter a mechanic.
- The boss does a shout animation, gaining a shield that provides immunity to all damage except additional damage procs, cleanses all debuffs.
- A message warns "Drill Sergeant uses its power to conjure a huge saw" and the boss spins, dealing knockback on contact. During the spin he will throw two large saws that inflict knockback, knockdown, and bleed, and will bounce around the room if they hit the wall. The saws can be stopped with Block/Counter/Parry/Deflect skills.
- Ideally the group should assign one person to block the saws, and the other members should group up behind this person so that all the saws go in the same direction. Be careful not to block the saws too close to the center where the boss will head to, as they can be problematic to melee classes in the next part of the mechanic.
- Ideally the group should assign one person to block the saws, and the other members should group up behind this person so that all the saws go in the same direction. Be careful not to block the saws too close to the center where the boss will head to, as they can be problematic to melee classes in the next part of the mechanic.
- The boss jumps to the middle (does no damage) and a message warns "Drill Sergeant absorbs the power", and he will begin drilling the ground underneath him, generating an electric area of effect that will damage anyone standing in it.
- A message warns "Trigger Power Surge by inflicting [Crowd Control]." Drill Sergeant generates a Blue, Red, or Green aura at random. He will do this three times, one for each crowd control. Use the respective crowd control in relation to the message and aura. Using the wrong 2x crowd control or failing to respond in 5 seconds will fail the mechanic.
- On failing the mechanic, Drill Sergeant retains his damage immunity shield until the next mechanic attempt is succeeded, and does a spin to throw out four more large saws before returning to his rotation.
- On failing the mechanic, Drill Sergeant retains his damage immunity shield until the next mechanic attempt is succeeded, and does a spin to throw out four more large saws before returning to his rotation.
- Drill Sergeant repeats the above twice for the remaining crowd control skills.
- Once Stun, Daze, and Knockdown have all been successfully applied, a message warns "Drill Sergeant suffers a Power Surge" and he produces a blockable area of effect explosion around him before collapsing into Daze status for 15 seconds. He then loses his damage immunity shield and all the large saws despawn, but cleanses all debuffs, and a blue aura appears for 15 seconds and pulsates the "Recharge Vigor" buff granting 50% Focus Recovery, 80% Critical Damage, and 200% Attack Power for 5 seconds. Do not Grab or Phantom Grip right away, let his Daze tick down before grabbing.
Floor 2:
The next room contains a Wheel of Uncertainty which requires Keys to operate. Pick up a red, green, or blue gun to spin the wheel. The wheel spawns one of four enemies:
- Red: Blood Mane of Bloodshade Harbor
- Green: Venomous Thrasher of Bloodshade Harbor
- Blue: Kaari Lord of Cold Storage
- White: Barakhan of Frostscale Basin
Longer, outer path:
The south, and east rooms have a chance to lead into the inner, shorter path, with descending shafts of electrocuting floors. Clearing the final room of the outer path will grant an achievement.
Each corridor in the inner path contains the Excavator Type 09 which spins and uses long-ranged linear lasers, accompanied by six Augmented Automaton Gunner, Blade Master, Kung Fu Master, Force Master, and Destroyer adds. Blue lasers that freeze anyone touched and red lasers that stun anyone touched will periodically sweep across the room as well. Bringing Excavator Type 09 down to 80% health will cause it to leave and despawn all the adds, allowing you to progress forward.
In the southwest room is a Power Core which throws projectiles, surrounded by eight Labyrinth Augerites that walk in a circle around the Core. If the Augerites are not killed, the Power Core absorbs them and performs a field-wide area of effect slam per absorbed Augerite.
In the south room, there are four Augmented Automaton Gunners, a pair of Hammer Brute Laborers, and Hammer Brute Chief Foreman Sa Nova. The Laborers and Sa Nova have "Improved Plating" which is a shield that negates all damage except for additional damage. The three are hammering the middle, pulsating a blue aura granting a minute long "Focus Power" which gives 7% Additional Damage bonus and stacks 15 times and lasts up to a minute, but is lost on receiving a knockdown from the hammer, so time your runs through the blue buff. The Larborers and Sa Nova are (passive) adds and will stop hammering when engaged, so make sure you have sufficient stacks before attacking.
In the southeast room, there are four jars that spawn Pot Dog Couriers, Pot Dog Grave Robbers, and Pot Dog Grenadiers. The Grenadiers drop a bomb that when thrown at the jars, either does nothing or spawns the miniboss, Pot Dog Elite Wu Fa.
In the east room is the Profane Jiangshi, and has extremely fast health regeneration even with 5x Bleed stacks. Periodically it will gain "Armor Plating" which renders it immune to CC and provides it 90% damage reduction. To remove the buff, kill the Giant Monster adds in the corners of the room, take their bomb, and throw it at the Jiangshi.
In the northeast room is a Hulking Augerite. Periodically it will shout "Grrrrrrrrr!" and drop six unblockable AoE blasts on the field which awaken its minions, the Greenstone, Bloodstone, and Bluestone Augerites; the minion awakening can be stopped with CCs as the Hulking Augerite channels the blasts.
In the north room is a patrolling Blade Master Augmented Automaton Captain, surrounded by fourteen Augmented Gunners, Blade Masters, Kung Fu Masters, Force Masters, and Destroyers that aggro when the Captain is attacked. There’s no special mechanics to this fight.
Inner, shorter path:
Cross the descending shaft of electrocuting floors. Each of the rooms have a chance to lead into another descending shaft before the boss.
The west room contains a pair of Dokkaebi King minibosses, Singe and Scorch. Scorch will periodically cast a very large area of effect flaming puddle under him that builds Ember stacks, while Singe will periodically cast a field-wide unblockable AoE explosion that detonates the Ember for massive damage; both can be stopped with CCs. If your group feels confident with their damage it is recommended to keep them stacked together and burn them down quickly while keeping up CC. If not, it is recommended that one person move one of the bosses to the opposite side of the room while the rest of the group focuses on the other.
Each corridor in the inner path contains the Excavator Type 09 which spins and uses long-ranged linear lasers, accompanied by six Augmented Automaton Gunner, Blade Master, Kung Fu Master, Force Master, and Destroyer adds. Blue lasers that freeze anyone touched and red lasers that stun anyone touched will periodically sweep across the room as well. Bringing Excavator Type 09 down to 80% health will cause it to leave and despawn all the adds, allowing you to progress forward.
The south room has a trio of Force Master Augmented Automaton Captains. Periodically they use Flame/Frost Fury that do not count as projectiles and cannot be blocked, and will constantly remove an Assassin’s stealth. They each produce a barrier around them that blocks either the flame or frost fury depending on the type of barrier.
The east room has a pair of Steel Giants, Bu Yuhan and Yogsim. When one of them is attacked, the other will gain Iron Plating rendering them immune to damage. Eventually the other will cast "Chi Ravage" and do an unblockable area of effect shout, which removes his Iron Plating.
The north room contains Force Master Augmented Automaton Sergeant Potak, who periodically activates the ten Turret Mole Automatons around him. The moles can be destroyed with the hammers in the corners of the room.
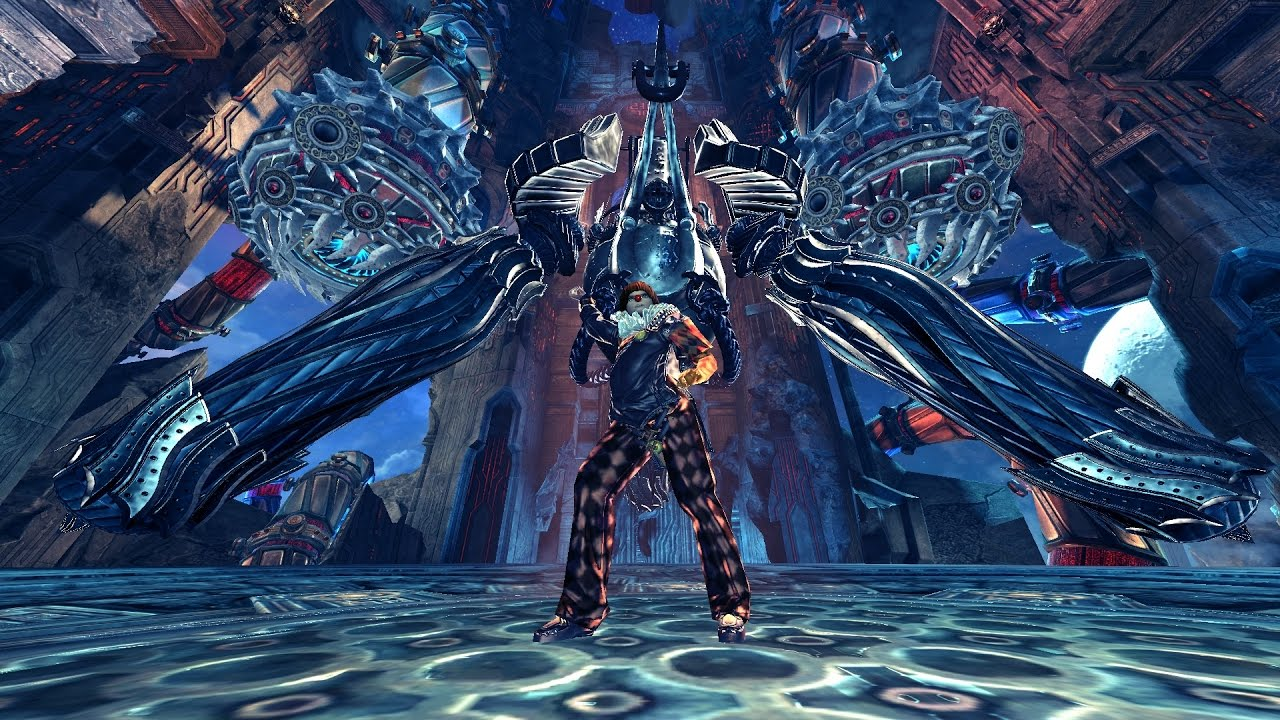
Be Ido & TE-1138 Heavenpiercer:
Be Ido is back with a vengeance, and this time he's got a dangerous mechanized ally. The fight is divided into three parts.
Excavator Type 09:
HP: 1,200,000
Enrage: None
CC: 2x
Rotation:
- 3-hit spin, the last hit will knock anyone hit backwards and knock them down
- Long-ranged linear laser, knocks anyone hit backwards and knocks them down
- Slides behind the aggro holder
If the tank stands 9 meters or farther away, he will fire an unblockable laser.
Excavator Type 09 may randomly charge around the room and can be stopped by block, counter, parry, or deflect skills.
Every 30 seconds, Excavator Type 09 heads into the middle of the room and summons a line of turrets. Excavator Type 09 then marks the furthest person from him, and fires a laser that can destroy the turrets. He will then repeat this with two more sets of turrets.
TE-1138 Heavenpiercer:
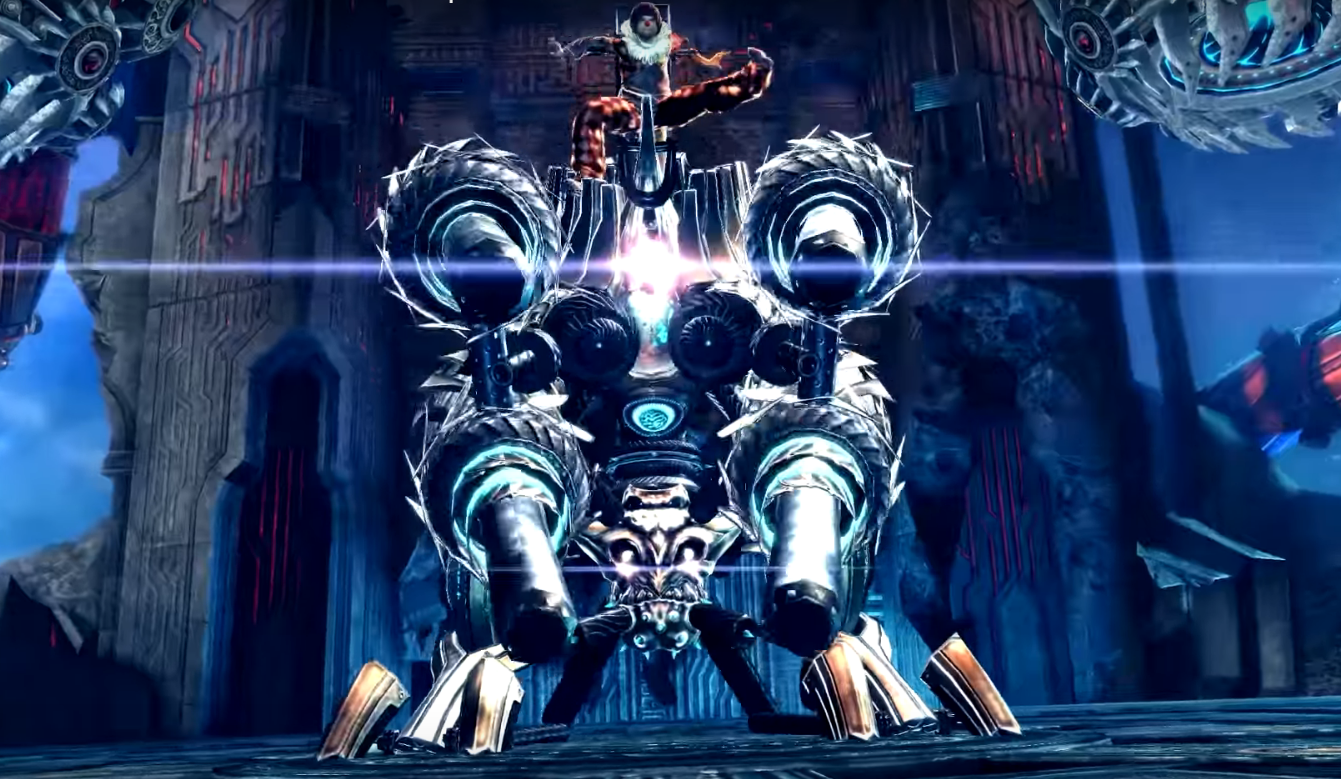
HP: 8,450,000
Enrage: 8:00
CC: 2x
Stepping up his game further, Be Ido combines the Excavator Type 09 with a lower base, transforming into the TE-1138 Heavenpiercer.
Warning: Skipping phases with high damage may result in unsatisfactory conditions in regards to mechanics, including potential wipes.
Rotation:
- Frontal linear arm thrust, inflicts knockback and knockdown. Blockable
- Frontal 180 degree Arm Swing, inflicts knockback and knockdown. Blockable
- Frontal frontal 5-hit Arm Piston attack, the last hit inflicts knockback and knockdown. Blockable.
- Frontal Long-ranged linear laser, inflicts knockback and knockdown. Blockable
- 5-hit Area of effect Spin, the last hit inflicting knockback and knockdown. Blockable
- After 50%, the boss may do one of the following:
- A large unblockable area of effect earthquake of varying size. Can be CC'd.
- Jumps into the air and fires a laser underneath it, producing a flaming puddle.
- A large unblockable area of effect earthquake of varying size. Can be CC'd.
If the tank stands 9 meters or farther away, TE-1138 Heavenpiercer will jump at the tank, producing an area of effect slam upon landing that inflicts stun.
Drills 90%/70%/50%/30%/10%:
- A message warns “TE-1138 Heavenpiercer is ready to fire the Drills” and the boss marks the furthest person from him and fires six drills at them. The marked person must lead the drills around so that they do not land on top of each other. Failure to do so will cause the drill to explode, causing any other nearby drills to explode as well. 3 drill explosions will give everyone the 10 second field-wide “Fissure” debuff that deals massive damage and can potentially wipe the party.
- Once the drills land, the party should kill the six drills. Once the drills are dead they produce a lingering blue aura that produces the “Prestige Points” buf, granting 100% Critical Damage for 10 seconds.
- Ideally, the marked person should walk backwards and make a U-turn while the drills are landing so they don't spread out too far.
- Once the drills land, the party should kill the six drills. Once the drills are dead they produce a lingering blue aura that produces the “Prestige Points” buf, granting 100% Critical Damage for 10 seconds.
- The boss will charge around the room in the direction of the tank, bouncing around the room if he hits the walls, which can be stopped with Block/Counter/Parry/Deflect skills. The boss can be moved near the blue pools to maximize the effect of the buff, but should not be moved into them or they will be absorbed and disappear.
- The boss produces three unblockable area of effect earthquakes that grow progressively larger. Each earthquake can be CC'd. The earthquake can hit the drills and cause them to explode, producing the aforementioned Fissure.
Charging Automatons 80%/60%/40%/20%:
- A message warns “A Charging Automaton is summoned” and four Type-108/113/118 Automatons who approach the boss and once they are close enough a buff to the boss. If this reaches “Stage 5”, and then he receives another buff, he will enrage and wipe the party. At the same time, the boss will do three unblockable area of effect earthquakes that grow progressively larger. These earthquakes will kill any of the automatons that are within the area of the attack. The number of the automaton refers to the distance they'll stay from the boss before producing the buff: 108 will move close to the boss while 118 will stay far away. If the boss receives multiple charges simultaneously, it will only count for one charge. Ideally only the first earthquake should be CC'd to avoid the boss gaining any stacks of the buff from the automatons.
Earthquake of Wrath 50%/30%/10%:
A message warns TE-1138 Heavenpiercer uses Earthquake of Wrath” and performs three field-wide unblockable area of effect earthquakes with pauses in between. This attack can kill the previously mentioned automatons and explode the drills. It is useful, but not needed, to have a Force Master use Frost Sheath or Blade Master use Winged Protector for this attack.
After the Earthquake of Wrath, the boss does the Drill mechanic.
Power Surge 30%/10%:
After the Earthquake of Wrath and the Drills, but before the charges, the boss gains a “Power Surge” buff that makes him take 90% less damage from all attacks. Power Surge can only be removed by leading the boss into the blue pool left by destroying the Drills, only three pools need to be absorbed in order to remove the buff.
Be Ido:
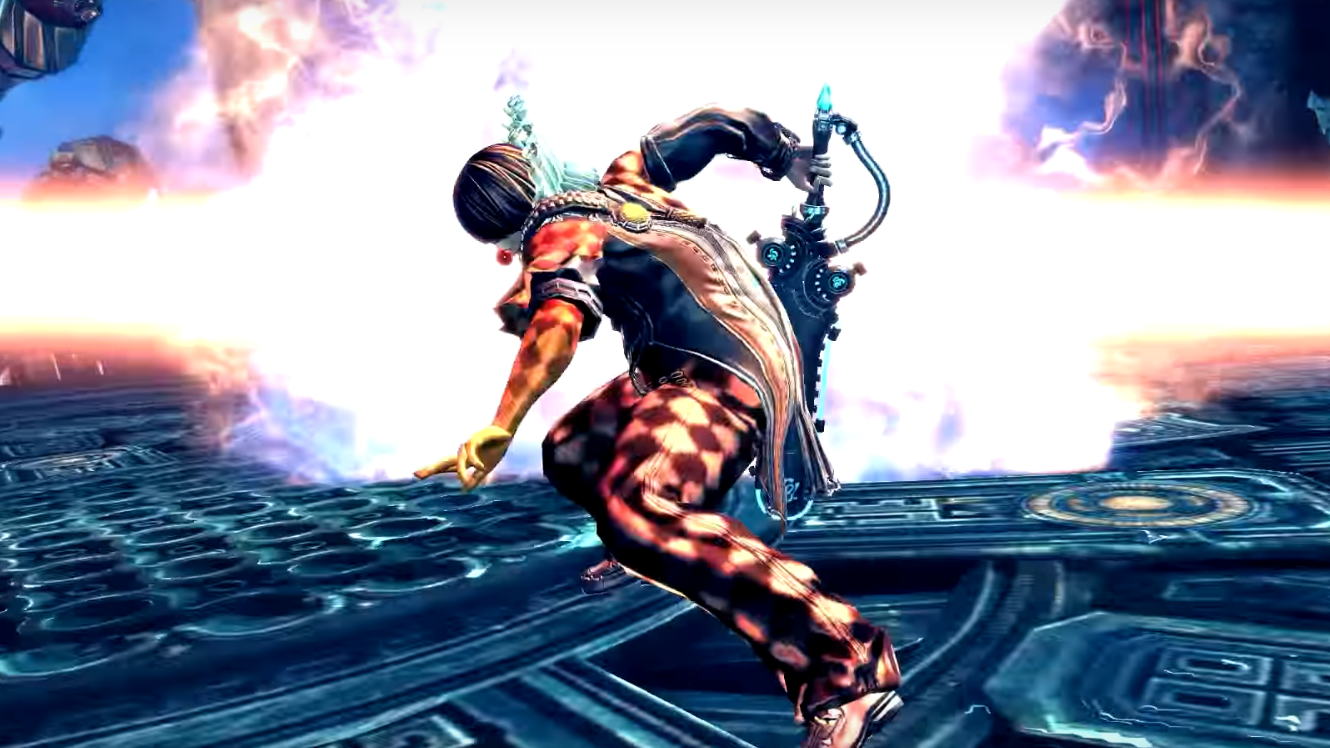
HP: 286,000
Enrage: None
CC: None
With his precious toy destroyed, only the clown is left. He uses Blade Master Flicker and Honed Slash attacks, but is relatively harmless. He will automatically leave at 5% of his health.