
Mushin’s Tower Floor 16-20
By: Litewarior
Corrections by Shadovv
Mushin’s Tower has expanded further, where a divine ray of light waits atop the twentieth floor. The sixteenth through nineteenth floors now possess not one, but two enemies, who will combine their strengths to complement their weaknesses and overwhelm you. On the twentieth floor awaits a monastic monk, willing to share his spiritual enlightenment with you.
Floor 16 is directly accessed from Mushin's Hall - First Floor. Unlike Floors 1-8 and 9-15, there are no floor tickets to skip some of the floors in 16-20.
Enemies in Floors 16 and 19 can gain a 7 second True Sight buff that lets them see Assassins in stealth, while Floors 17, 18, and 20 have True Sight as permanent passives.
Unique to Floors 16, 17, and 19 are enemies with 1x CC bar, where unlike those without CC bars, these enemies are immune to stun, daze, or knockdown at specific points in their attacks and are immune to CCs that aren’t counted as Joint Attacks. However, they’re still not immune to knockback or launches.
Floor 16: Searstrike Sisters Sulha, Yungha & Minah
HP: 776,000
Enrage: None
CC Bars: 1x
This floor will have two out of three potential NPCs: Sulha the Force Master, Yungha the Kung Fu Master, or Minah the Assassin, the combination is random.
Most of their attacks can be ignored fairly easily, however each has something you will need to watch out for:
The Force Master may either Phantom Grip, Drain three times to heal, and drop you on the ground; or charge Chi Bomb, and if it lands it will do a lot of damage and stun you.
The Kung Fu Master may use Tremor and Leg Sweep, but both are blockable and have long wind up times.
The Assassin may SS away from you and use Highwire even if you aren’t CC’d, or will do it if you are too far from her. They follow this up with immediate High Voltage, which will stun you. The Highwire is blockable.
Kill this floor fast and move on, grouping and aoe works, or if you do not have good aoe, your priority should be Force Master -> Assassin -> Kung Fu Master.
Floor 17: Master Warlock Ik Hun
HP: 1,610,000
Enrage: None
CC Bars: 1x
The enemy on this floor is a single Warlock, using Quell (block), Repulse (linear unblockable pulse that knockback, triggers from hitting Quell), Bombardment, Rupture, Dimensional Volley, Incantation/Mantra, Tether Blade (projectile knockdown), and dashing through you or Backstepping 8 meters with iframes.
At some point he will cast Soul Shackle to root you, 5-hit area of effect Imprison over a set area, and finally Dragoncall. All three attacks are unblockable.
At another point he will cast Leech which stuns briefly, Wingstorm consisting of three unblockable linear pulses that knockback, and then summon a Thrall. This will either be blue or red and will constantly fire projectiles and periodically charge Nether Pulse to stun you. If you don’t kill the Thrall within a minute, the blue will sacrifice itself and grant Ik Hun the “Soulburn” buff healing him 30% of his HP and giving him a stacking attack buff, while the red will self-destruct to cast Obliterate which is a field-wide unblockable area of effect that does very high damage with knockback and knockdown.
Floor 18: Hwonku & Baiku
Hwonku HP: 1,680,000
Baiku HP: 1,270,000
Enrage: None
CC Bars: 2x
The enemies you fight in this floor are very similar to Ken and Gen of Sogun’s Lament, with the exact same attack patterns, but the mechanics are slightly different.
When you attack one or the other, a random one will jump to the center and begin attacking you, and the other will jump to the edge of the room, become invulnerable and start throwing pots of goo at you. The goo has a very long delay after targeting you before it lands, so it is easy to avoid. Try to keep it grouped, as the goo sticks around for a while.
Periodically the enemy you’re fighting against will roar, and can be CC’d here. CC’ing them will swap them with the other baby. Not CCing them will give you and enemy the “Golden/Silver Deva Strength” buff which increases Attack Power by 90, but on 3 stacks transforms into “Galvanize/Silver Deva” and immobilizes you for a few seconds (does no damage) while the baby gains 99% damage reduction for 30 seconds.
The enemy you’re fighting will also periodically say a voice line, put its hammer on its back, and tries to Phantom Grip you. This will deal an immense amount of damage and remove your stacks, and likely kill you if you do not iframe it.
Floor 19: Kismet Fighters Jorak/Rorung & Hina/Aela:
Jorak/Rorung (Blade Master) HP: 1,680,000
Hina/Aela (Gunslinger) HP: 1,270,000
Enrage: None
CC Bars: 1x
This floor has two out of four potential enemies you can fight: a Jorak the White Blade Master, Rorung the Blue Blade Master, Hina the Pistol Gunslinger, and Aela the Minigun Gunslinger. The enemies are random, but will always be one Blade Master and one Gunner.
The White Blade Master is fairly simple. If he knocks you down with Anklebiter, he’ll follow it up with Divebomb. Two blockable linear Flickers, a 3-hit Multislash that doesn’t CC, followed by an attempted Aerial that doesn’t knockup. He will then use a daze slash followed by Flash Step, Shoulder Charge and repeat. After some time, 5 swords will appear on his back, he will use Lightning Rod area of effect puddle, just walk out of it. Very little of his rotation CCs, and it doesn’t do much damage.
The Pistol Gunner will mostly just backflip away from you if you are too close, or just shoot at you with her guns doing damage. If you are too far for too long, she will throw a grenade which knocks you back.
The Minigun Gunner attacks are very similar to Poharan of Blackram Supply Chain. She does a cone of bullets that will daze if it hits at the start. She will occasionally prepare to charge for a knockup, which the Blade Master will extend while she shoots at you. She’ll also shoot grenades that leave a burning puddle, just avoid them.
The Blue Blade Master has many annoying attacks. One is a Multislash that staggers you with each hit, and knocks you up on the last one doing significant damage. A Five-Point Strike that just dazes and doesn’t knockup. An unblockable stun line attack. If you aren’t confident you can burst him down quickly, otherwise just reset until you don’t get him, all the other enemies are very easy.
This floor is mostly a gear check: kill the enemies before they kill you and regen through their attacks. If you’re having trouble, focus on blocking or iframing the CC attacks. Burst down the gunner first, as it has significantly lower HP, and then you only have one enemy to worry about. If the Blue Blade Master appears, you can reset the enemy combination by running back down to Floor 18 and going through the door.
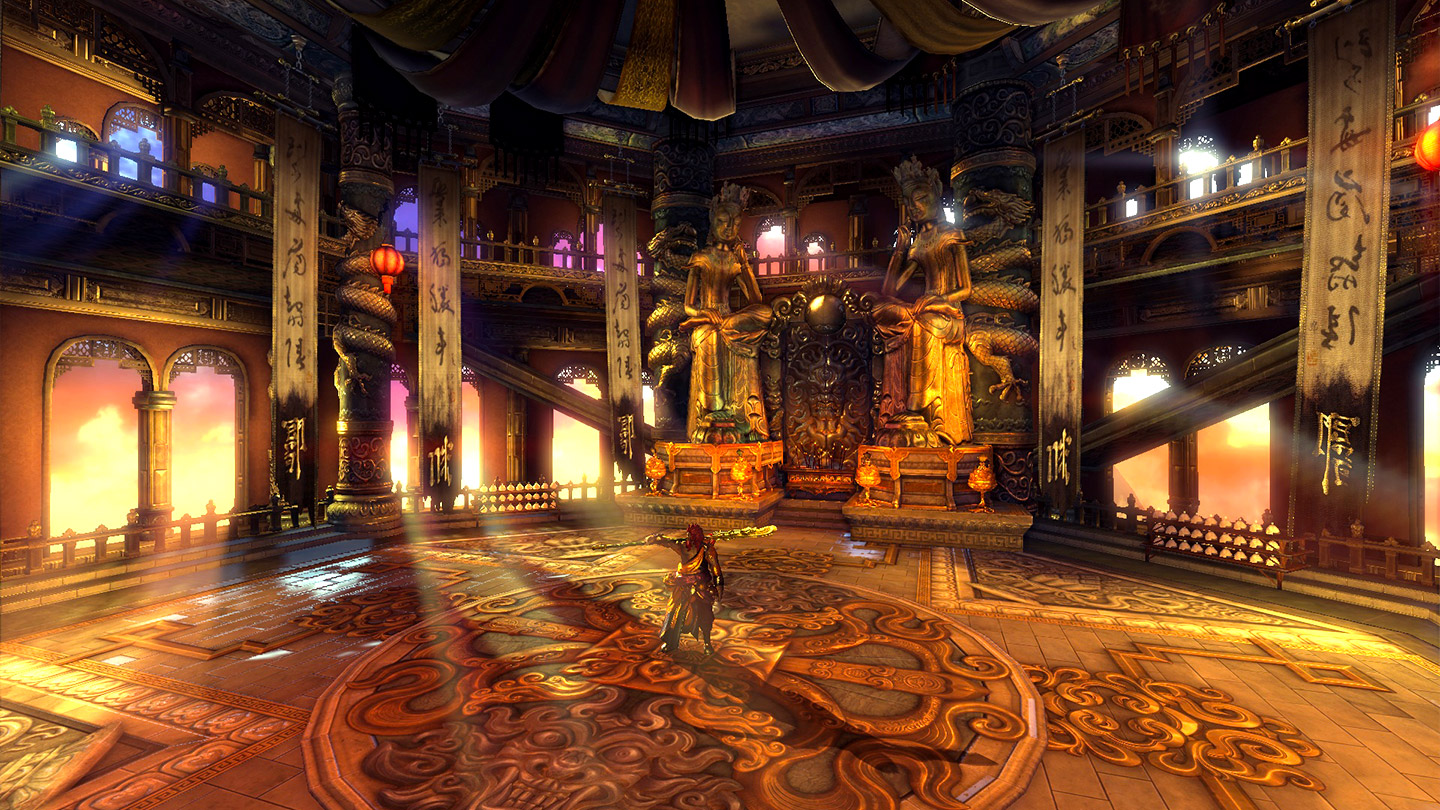
Floor 20: Yunsang
HP: 6,010,000
Enrage: 6:00
CC Bars: 2x
Like Floor 15’s Naksun, Yunsang has no visible attack indicators.
Shockwave:
When you engage Yunsang, he will jump and land in front of you, which creates his shockwave attack. This is his most dangerous attack, and shows up throughout the entire fight. The attack is very fast, with very little warning, so always be prepared to react.
On landing, a circular shockwave will extend outward from him, covering the entire field, and is unblockable. You must physically avoid this attack by jumping, getting hit by or iframing the shockwave or Yunsang’s landing zone will stun you and apply the “Internal Iron Plating Injury” debuff for 60 seconds, which deals 6,200 damage per 2 seconds. The specific timing for when you should jump depends on your ping and distance from Yunsang’s jump location.
If you are stunned by the shockwave, Yunsang will grab you and either spin you around and throw you away with Hurl or slamming you into the ground with Power Slam. Both can be grab countered.
Rotation: 100%-41%:
- Stab: A simple forward stab, this can’t be blocked and knocks back, just side step it.
- One of the following:
- Slam: Swings his spear and slams it in front of him, knocking you down. Blockable, but is easier to just sidestep.
- Spin: Spins 8 meters forward, knocking you away with each hit. If you attack into this, you will be deflected and stunned. This can be blocked as long as you’re facing Yunsang, but you can also sidestep it.
- Slam: Swings his spear and slams it in front of him, knocking you down. Blockable, but is easier to just sidestep.
- One of the following:
- Uppercut: Charges toward you and sweeps his spear once which just does damage, then sweeps again which causes launch. If the launch connects, Yunsang follows it with Piledriver which deals significant damage and reduces movement speed by 80%, then he’ll do a knockdown sweep after. Both hits of the attack can be blocked.
- Shockwave
- Uppercut: Charges toward you and sweeps his spear once which just does damage, then sweeps again which causes launch. If the launch connects, Yunsang follows it with Piledriver which deals significant damage and reduces movement speed by 80%, then he’ll do a knockdown sweep after. Both hits of the attack can be blocked.
If you stand 10 meters or farther away, Yunsang will quickly dash to you with almost no warning, grab you, and then release you after a second, applying the “Heart Stealer” debuff which reduces recovery by 90% and kills you on two stacks. The grab cannot be blocked, so iframe this. If you are knocked down, you can iframe the grab with a delayed Retreat. Summoners, Warlocks and Assassins have to be very careful with the distance caused by their Retreats and Second Winds.
Emberstomp:
Roughly a minute and a half into the fight, and then every minute after that during 100%-41%, Yunsang will shout and flip over your head, damaging and stunning you, this is blockable if you’re facing him before he jumps. Afterwards, he will stomp the ground, creating an 8 meter eruption puddle under him; stand 9 meters to be out of range while not exceeding the “too far” range.
After the Emberstomp, Yunsang will perform both of the following in a random order:
- Counter: He may raise his arm in a defensive stance. This is a Counter, if you hit into it he will kick you into the air and Piledrive you. The counter will not trigger when attacked from behind.
- Drink: He may try to take a swig of his drink, this is the only time he will become CC’able. If this isn’t interrupted, he will gain the “Blessing of the Golden Dragon” buff for 20 seconds which makes him immune to damage and increases his damage, along with a permanent “Rage” buff that makes him enrage and wipe you on two stacks. He will also resume his attack, even if he hasn’t used the Counter.
Golden Dragon Scimitar 80%/60%/40%/20%:
Yunsang jumps to the middle, creating a shockwave. A message warns "Yusang uses Golden Dragon Scimitar" and he will spin his spear, creating a field-wide vacuum that dazes and cannot be iframed unless you have a skill that specifically resists daze (e.g. Destroyer’s Hurricane, Blade Dancer’s Vortex), before causing a field-wide explosion that knocks back and deals a lot of damage. You can either Retreat the vacuum and time an iframe for the explosion, time Second Wind for the explosion, or use a persistent iframe bubble (e.g. Summoner’s True Friend, Warlock’s Bastion).
Afterwards, Yunsang will parry spin in your direction and go until he hits the wall. Unlike the spin in his rotation, this spin can be stopped with a Block/Counter/Parry/Deflect skill, leaving him stunned for a bit. Once the spin is finished, he will jump at you and create a shockwave, and resume his normal pattern where he left off.
Rotation 40%-0%:
Once Yunsang is pushed to 40% HP, he will stop whatever attack he is doing, and jump to 9 potential spots around the room (eight being around the circle, and one being in the center of the room) chosen at random 3 times, creating a shockwave at each location. After the third jump, he will do Counter/Drink in a random order. He will repeat this every 30 seconds since the last.
After he finishes the Counter/Drink, he will either resume his normal attack rotation or Golden Dragon Scimitar, whichever comes first. However, his 2nd attack in his normal attack rotation gains a new attack in a stun knee, and his slam is replaced by a quick slam. He may still do the spin, and alternate between these three.
- Quick Slam: Significantly faster than the normal slam, being much harder to sidestep.
- Knee: Quickly knees and stuns you, very fast and no warning, but it can be blocked or iframed. If you get hit by this and do not Second Wind, Yunsang will grab you.
Each floor has a chance to drop a Yunsang Prayer Bead or a full set of Prayer Beads. 10 individual beads can be combined to create a full set, this is the currency used for Kangcha’s Shop.
Each floor has a chance to drop an Unrefined Divine Dragon or Unrefined Tiger Bracelet. These bracelets are used to convert a Legendary Divine Dragon or Tiger Bracelet - Stage 10 from Naryu Sanctum to the other bracelet form.
The floor 20 shop allows you to swap Unrefined Bracelets, but also requires having the other Unrefined Bracelet. It also sells the Eternity and Transcendence Soul Badges, with unique effects for each class, see Meldas’s spreadsheet for all the effects.