
Requirements/Recommendations:
- Act IV, Chapter 10: Relics of the Past
- Volmie: Writer
Corridor:
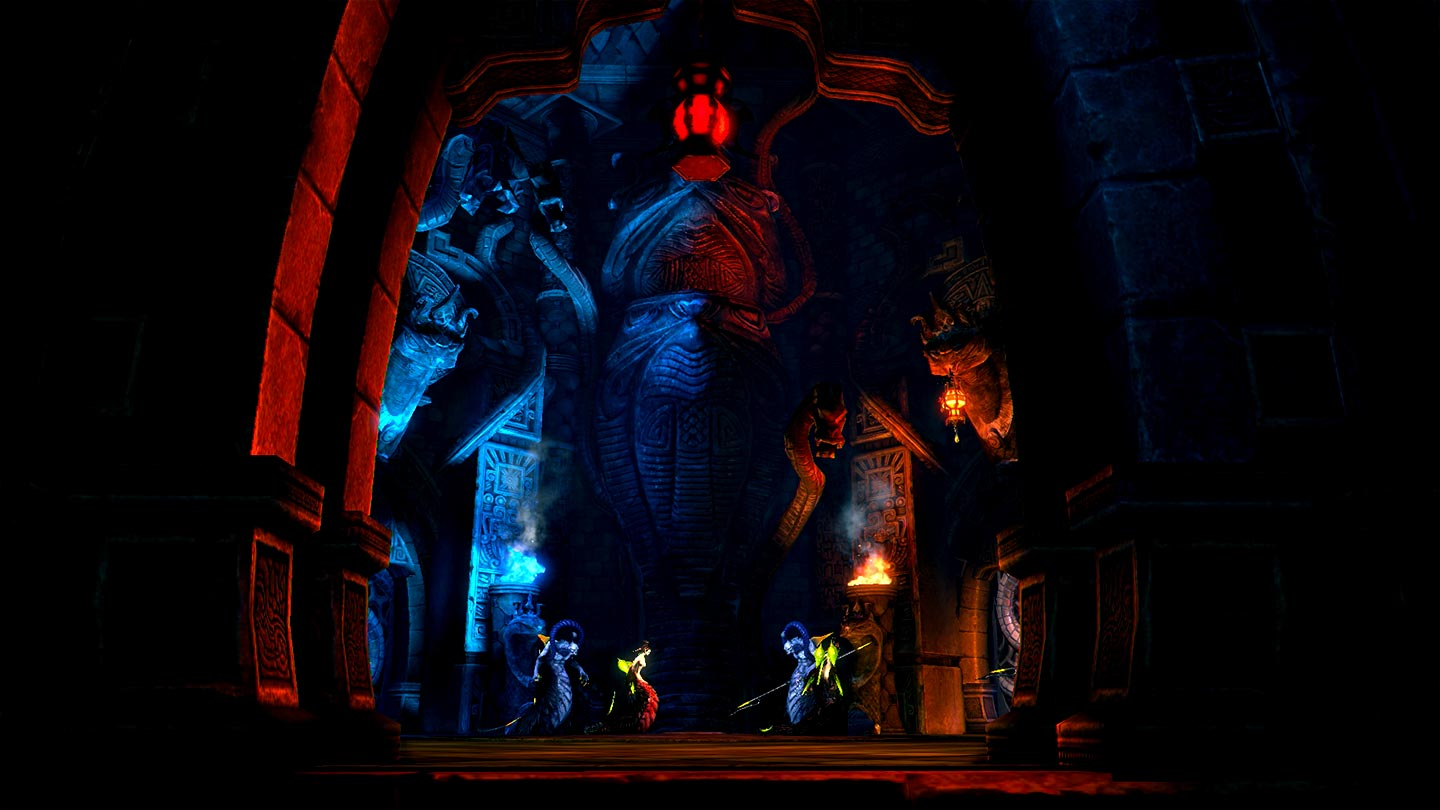
Upon entering the dungeon you'll be greeted by groups of Naga mobs, this is a common theme throughout this dungeon, and you'll be clearing at least one group of them in every corridor before moving on.
Once you have cleared the first set of trash mobs in the initial hallway and main room, you'll find two mini bosses on the left and right of the main room. Both of them must be killed in order to move forward, but they do not have to be killed at the same time.
Jarakhan:
HP: 789,000
Enrage: None
CC: 2x
This miniboss fights similar to Jomu bosses and is a relatively straightforward fight. At some point into the fight it will spawn Naga adds to assist it.
Rotation:
- Targeted punch, blockable.
- Frontal 180 degree swipe into a front smash, both are blockable, second hit causes knockdown.
- One of the following:
- Ground slam in an area of effect, unblockable, causes knockback and knockdown
- Roars in an area of effect, unblockable, causes knockback and knockdown
- Ground slam in an area of effect, unblockable, causes knockback and knockdown
- Roar or ground slam - He will swap between these two attacks during his pattern, both are AoE attacks that cannot be blocked and will knock back and disable as well as do a large chunk of damage.
If the tank stands 9 meters or farther away, Jarakhan throws two ice projectiles at them, both are blockable.
Gotem the Fist:
HP: 1,090,000
Enrage: None
CC: 2x
This miniboss is a Yeti elite add, but is considerably more dangerous than Jarakhan.
Gotem is surrounded by small yetis which can be quite problematic if left alone, and will spawn more of them as the fight goes on. There are machine guns located in the corners of the room to assist in dealing with these mobs.
Rotation:
- Double frontal 180 degree claw swipes, blockable
- Frontal 180 degree hand clap, blockable, causes stun
- Ground smash in an area of effect, unblockable, causes knockback and knockdown
- Targeted uppercut, blockable, causes knockback and knockdown.
If the tank stands 9 or more meters, Gotem jumps at them creating an unblockable area of effect on landing.
Court Lady Sa:
HP: 872,000
Enrage: None
CC: 2x
After killing the two initial minibosses, the next room contains another set of Nagas, after they are killed this Naga miniboss will spawn.
Like the previous two minibosses she will spawn adds during the fight. The face statues on the walls will also shoot projectiles at the tank until the monsters are dead.
Rotation:
- Targeted swipe, blockable
- Frontal linear poison spit, unblockable
- Spinning tail sweep in an area of effect, blockable, causes knockdown
If the tank stands 9 meters or farther away, Court Lady Sa will charge at them.
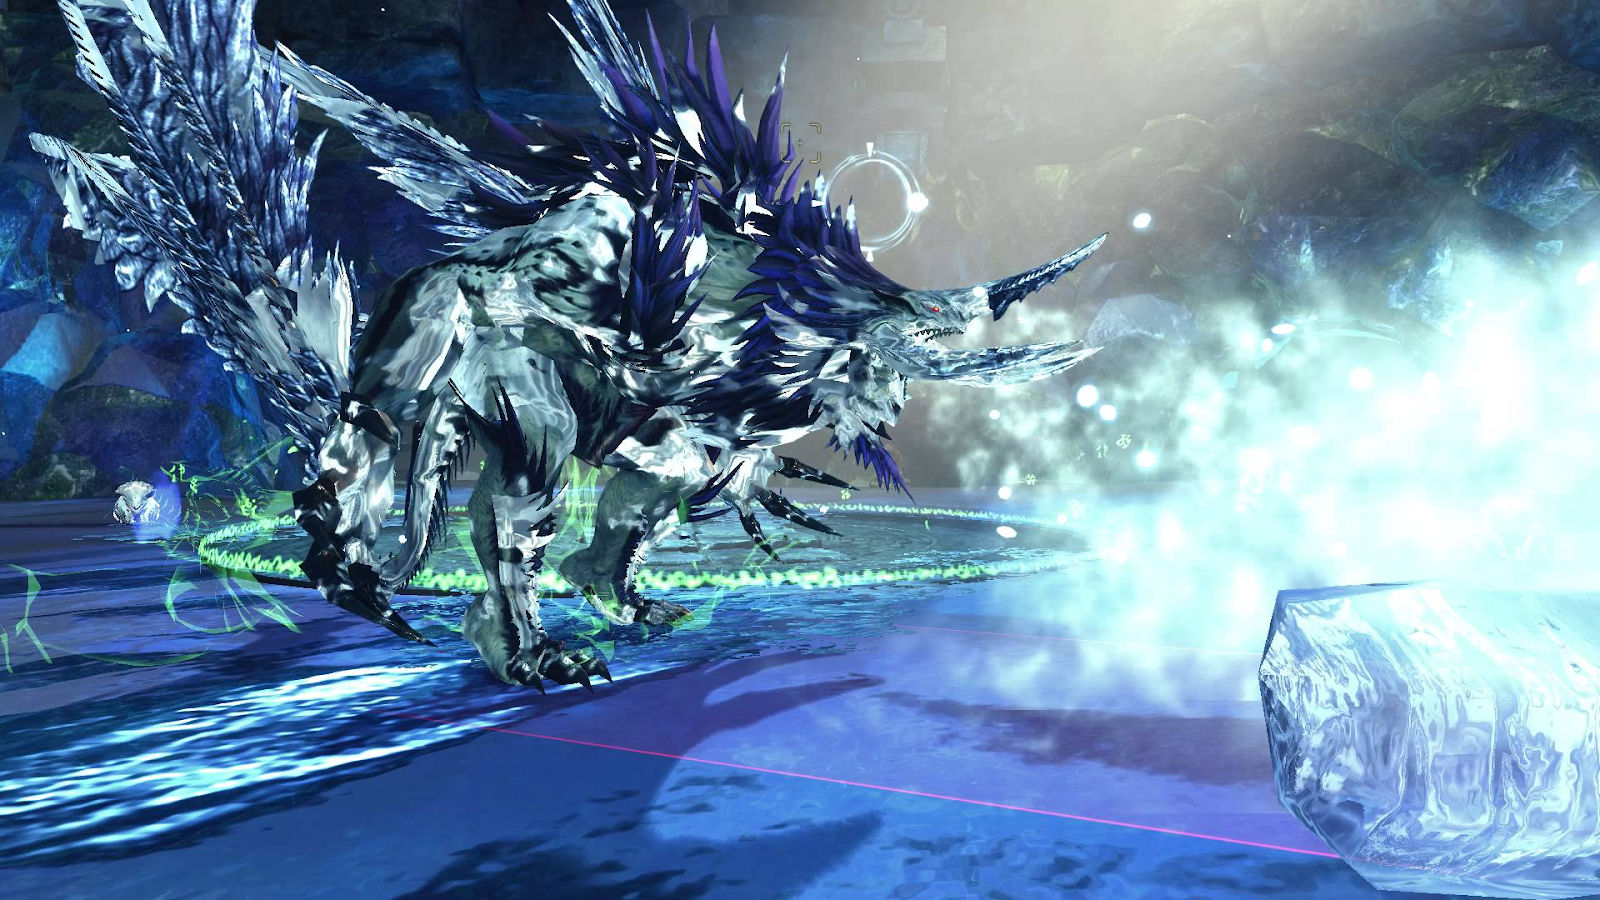
Chuchu:
HP: 1,210,000
Enrage: None
CC: 2x
The first true boss of this dungeon, this boss fights identically to the Chuanka bosses in the Shiverstone Range area.
Rotation:
- Targeted claw swipe, blockable.
- Double frontal 180 degree claw swipes, blockable.
- Frontal linear frost breath, unblockable, stacks Chill, stacks Freeze on 3 stacks of Chill
- 3-hit area of effect spin, blockable, last hit causes knockback and knockdown.
If the tank stands 9 meters or farther away, Chuchu throws two blockable frost projectiles.
Bladescale Totems 75%/50%/25%:
- Chuchu cleanses all debuffs and then jumps to the middle, creating an unblockable area of effect impact on landing.
- A message warns “Chuchu is summoning Bladescale Totems” and Chuchu does a roar animation, summing four totems around it at the 12:00, 3:00, 6:00, and 9:00 positions. After a few seconds, these totems will spawn small Yeti adds to harass the party.
- Chuchu cleanses all debuffs and jumps to the furthest person from it. The impact on landing can destroy the totem. It will then keep jumping until all four totems are destroyed, cycling between the tank and furthest person.
Corridor:
Another group of Naga adds, once they are dead three Training Dummies will spawn. Of the three, only the Red needs to be killed to progress; if you kill the wrong one or take too long, they will despawn and you will be forced to wait a minute until they return, so be very careful with area of effect attacks.
Once the Red Dummy is dead, there are two doors leading to the final bosses. Only one of these doors can be opened at your choice; the right door will lead to the Tetralisk Queen and the left will lead to the Bladescale Naga King, with another wave of adds before them.
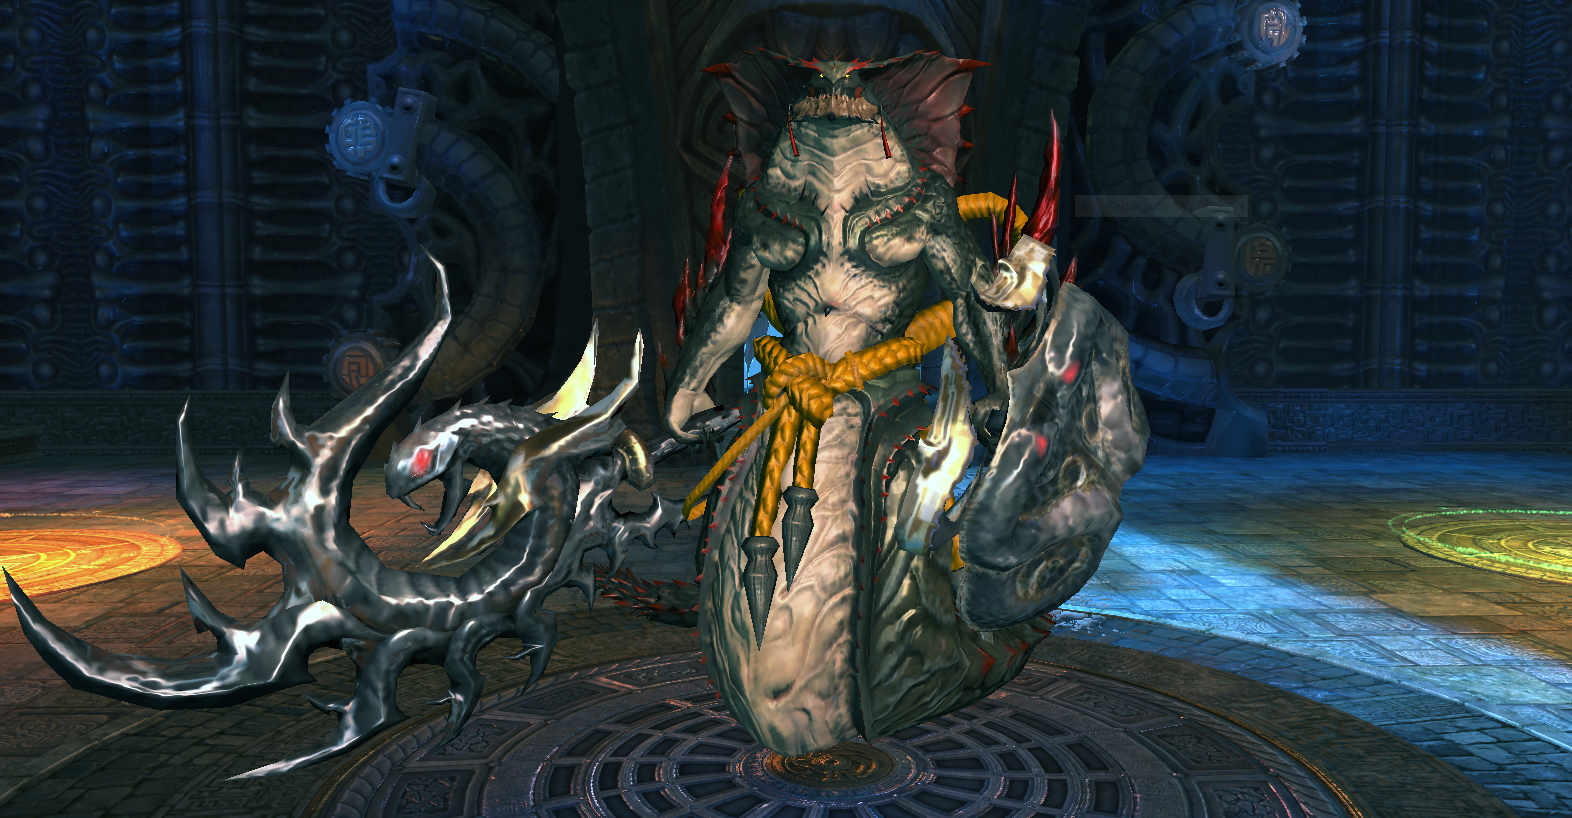
Tetralisk Queen:
HP: 1,650,000
Enrage: 2:50
CC: 2x
Tetralisk Queen is the easier of the two bosses, having no real mechanics aside from summoning adds.
Rotation:
- Targeted punch, blockable.
- Frontal linear tail slam, unblockable, causes knockdown
- Frontal poison spray in a cone, unblockable
- 3-hit area of effect spin, blockable, each hit causes knockback and knockdown
- Poison area of effect, the ground around the boss will slowly fill with poison and upon reaching the boss will deal damage and poison anyone hit by it, unblockable, causes knockback and knockdown
- Frontal frost spray in a cone, unblockable
Adds:
After about a full rotation, the Tetralisk Queen will summon four Naga adds, either being melee or ranged.
Later on, she will spawn icicles that drop from the ceiling and create an area of effect impact. These icicles will create frost area of effects around it, but can be destroyed using the flamethrowers in the corners of the room.
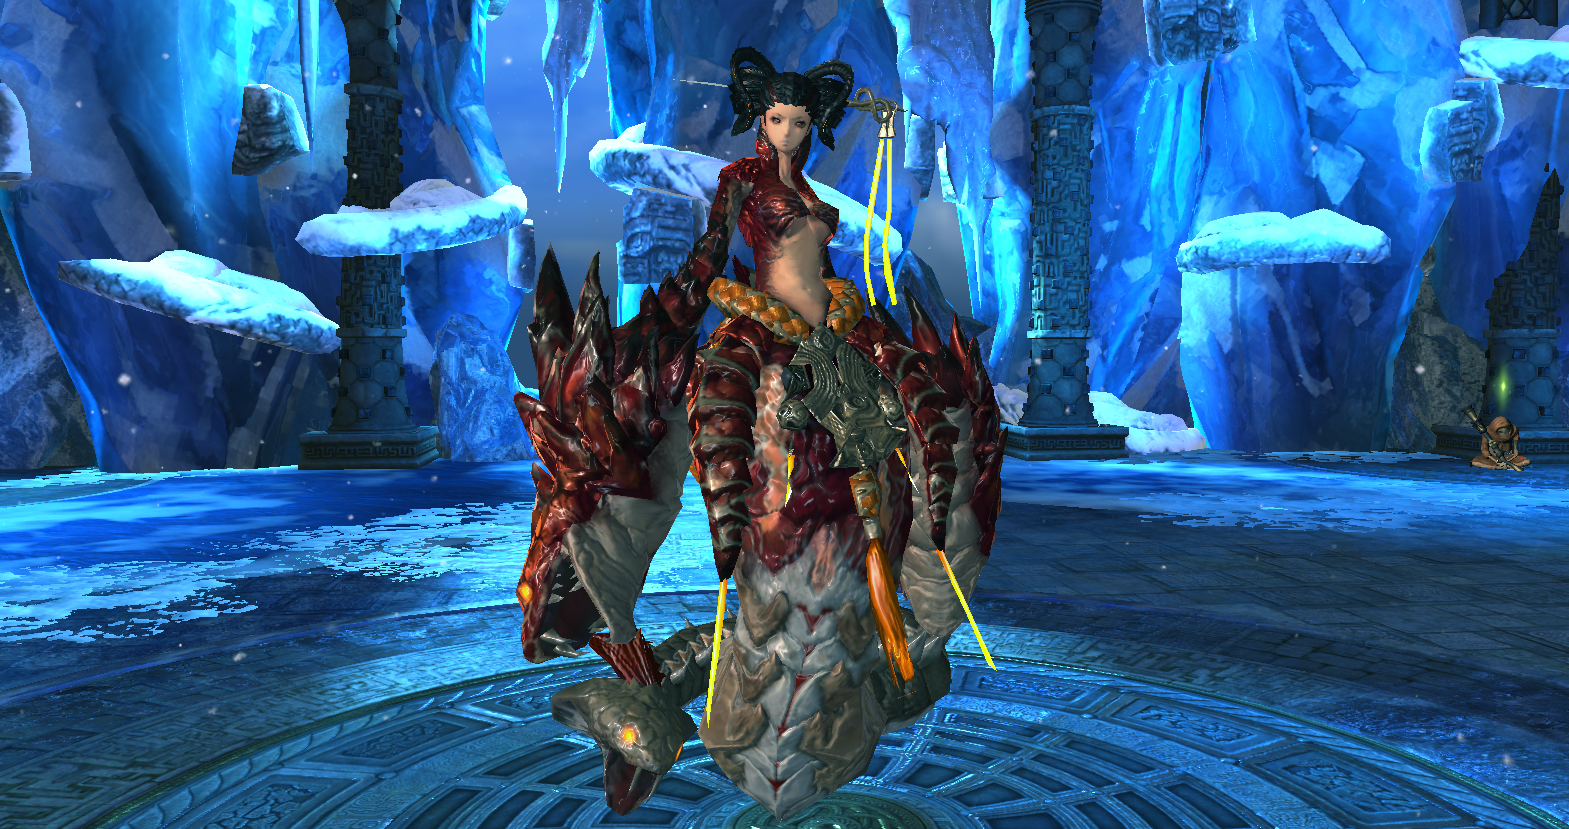
Bladescale Naga King:
HP: 2,010,000
Enrage: 3:30
CC: 2x
Of the two final bosses, the Bladescale Naga King is a bit more difficult, with more health and an actual mechanic.
Rotation:
- Targeted stab, blockable.
- Frontal 180 degree slash, blockable.
- Frontal downward sword slam, unblockable, causes knockdown.
- 3-hit area of effect spin, blockable, each hit causes knockback and knockdown.
- Raises its shield in front of it, then does a frontal 180 degree unblockable shield bash in front of it. The shield will block attacks, but remains vulnerable from behind.
If the tank stands 5 meters or farther away, the boss will spit a poison blob that leaves a damaging puddle. If they’re still too far, the boss will jump to the tank, creating an unblockable area of effect impact.
Bladescale Totems:
After about a full rotation, the Bladescale Naga King enters a mechanic.
- The boss cleanses all debuffs, then jumps to the middle of the room, creating a blockable area of effect impact.
- A message warns “Bladescale Naga King is summoning Bladescale Totems” and three totems, the Blessing of Defense (green) located at the 1:30 position, the Blessing of Focus (blue) at 6:00, and Blessing of Life (red) at 10:30, will spawn around the room, forming a triangle.
- The boss will gain a buff from one of the totems for 60 seconds. A message warns “Bladescale Naga King has gained the Blessing of [Totem] effect. Destroy Blessing of [Totem] and Blessing of [Totem].” The other two totems that weren’t absorbed by the boss need to be destroyed in order for the totem that the boss pulled energy from to pulsate a buff to nearby players.
- The boss’s Blessing of Defense causes you to receive damage for hitting the boss. The totem will heal players.
- The boss’s Blessing of Focus causes you to lose focus for hitting the boss. The totem will restore a small amount of focus to players.
- The boss’s Blessing of Life increases the boss’s defense. The totem will increase the player’s attack power.
- The boss’s Blessing of Defense causes you to receive damage for hitting the boss. The totem will heal players.
- The boss will then spit three poison puddles toward the tank. Afterwards it will resume its normal rotation; either the tank must lure the boss to the remaining totem, or a Destroyer or Blade Dancer CCs and grabs the boss and brings it there.