
The main port of the Blackram Eastern Fleet, commanded by Vice Admiral Poharan's grandfather, Admiral Hae Mujin.
Requirements/Recommendations:
- "Reunion At Bloodshade Harbor" quest after clearing Blackram Supply Chain. Note that this isn't a delivered letter, but available from the Fishing Lodge in Hogshead Pastures.
- Wall Dash windstride skill.
- Shadovv : Writer
Corridor:
This dungeon is filled with a large amount of patrolling mobs that serve to harass you.
Kill the miniboss, Defense Captain Aeji, to lower the drawbridge needed to proceed. The fight is a simple one, with the only somewhat problematic part being the area of effect the boss will periodically place.
Cross the drawbridge and make your way towards Streamkeeper Akan, defeating him will allow you access to the Dragon Pulse and the next portion of the dungeon.
Fly over the Vulture adds and run into the little hut and past it, ignore Guard Captain Genso, the Blackram, Hoglin, and Tiger adds and reset them by jumping onto the stack of crates to the left. Afterwards fly over to the other empty set of crates; be careful of the Gunner Guards stationed above.
Guarding the entrance to the first boss is Beast Tamer Bu Lu, along with two bears Voytak and Mogom. An additional miniboss that patrols a different section of the area will make his way towards the group upon beginning combat with the first, however it is possible to kill the first miniboss and proceed into the boss room before he arrives in order to avoid fighting him. Only the door guards must be killed in order to open the door to the boss room.
Venomous Thrasher:
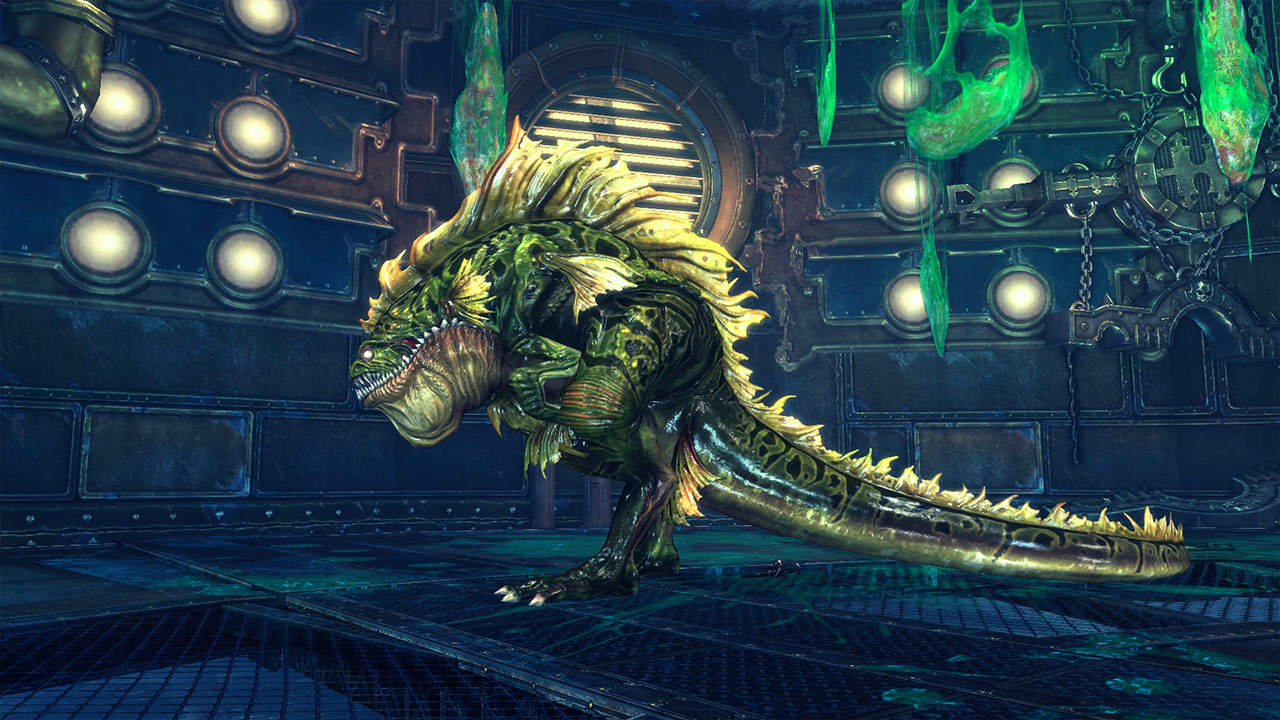
HP: 1,150,000
Enrage: 5:00
CC: 2x
Rotation:
- Area of effect Spin causing knockback to anyone hit. Blockable.
- Head smash that will cause knockup, followed either by another smash or being grabbed and chewed on. Cannot be blocked.
- Targeted Bite. Blockable.
- Rear 180 degree Tail Swing. Blockable
- Bite.
If the tanks stands 9 meters or further, the boss spits poison that leaves a puddle and then does a charging headbutt that inflicts Knockback and Knockdown.
Periodically the Thrasher will jump and hang onto the ceiling, and become immune to further attacks.
- The entire group gains the “Egg” debuff for two minutes, decreasing attack power by 50%. This can be cleansed with the waterfall ports in the four corners of the room and will grant a 60% Movement Speed, 50% Critical Rate, and 50% Attack Power buff when cleansed, but don’t cleanse just yet.
- Harpoon Guns scattered around the ground will be able to picked up. The 1 skill can be used to destroy the eggs that will be around the room, which will leave a smokescreen that negates projectiles when destroyed. The LMB skill is used to shoot the boss off the ceiling. If the eggs are not destroyed they will hatch into plague mites that can be incredibly problematic if not quickly dealt with.
- The boss will alternate between shooting area of effect pools of poison and spitting poison projectiles at the group.
- After being shot enough times, or after being on the ceiling for a certain period of time the boss while either fall or jump off. At this point all players should make their way to one of the waterfall ports to cleanse the debuff and return to fighting the boss. If the debuff is not cleansed the boss's following unblockable area of effect will detonate the debuff dealing significant damage. Otherwise the area of effect is harmless.
Corridor:
Run past the gate, run to the left and run up the stack of crates. Note that the middle cannot be run up because it is a destroyable object. Glide to the next stack of crates, then glide to the next set of crates and barrels, be very careful of the Gunner Guards as you do this. Then wall run horizontally on the right crate to reach the miniboss.
Kill the miniboss, Head Enforcer Gwiparan to open the gate to the next boss. Minibosses Blade Master Captain Sahun and Blade Master Commander Bi Mujak patrolling the other areas will arrive to help, but despawn when Gwiparan is dead.
Munitions Officer Blood Mane:
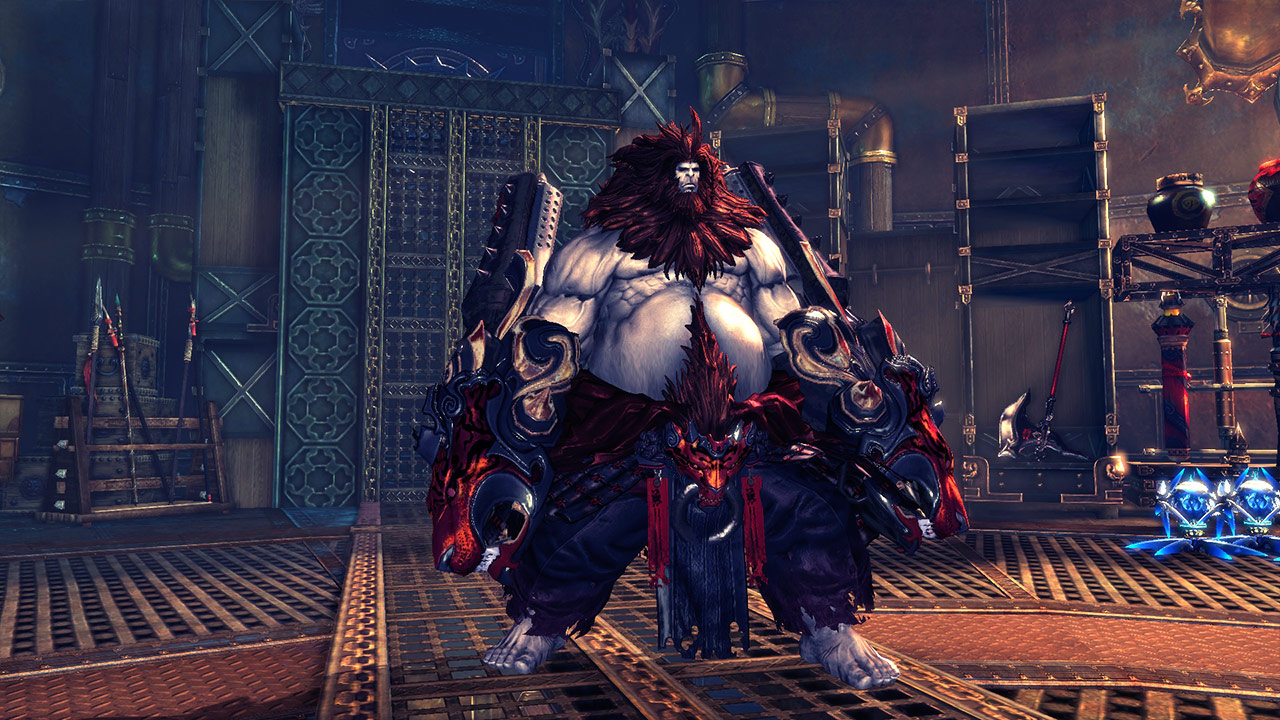
HP: 4,450,000
Enrage: Roughly 7:00 (hidden)
CC: 2x
Rotation:
- Targeted punch. Blockable.
- Frontal 180 degree sweep. Blockable.
- Punch.
- 3-hit area of effect Spins, knocking back anyone hit. Blockable.
- Area of effect roar, dazing anyone hit. Blockable.
If the tank stands 9 meters or further away, Blood Mane will leash them and hit them three times.
Automatons:
At every 10% of his health lost, Blood Mane will activate one of the automatons around the room, and follow up with an unblockable room wide area of effect which can be interrupted by 2x CC. The automatons will aggro on to the person closest to them and charge across the room in the direction of that person until they die.
These automatons stack the “Laceration” debuff on anyone hit by them, including the boss. This debuff aids in speeding up killing the boss, as at high stacks it will tick for quite a high amount of damage. The automatons will lose health every time they hit the wall, and can also be hit by all attacks, boss and player alike.
On enrage, he does not kill the entire party. He will repeatedly use a field-wide unblockable area of effect that isn't CC'able, although he can still be killed if players can weave through the constant attacks.
Corridor:
There are only two minibosses, Kung Fu Masters Stately Hunjin and Lovecrazed Nam Juri, a few patrolling mobs, and a very short path to the next set of bosses. Be careful not to get knocked into the wall of fire behind the minibosses.
Cobalt & Scarlet Widows:
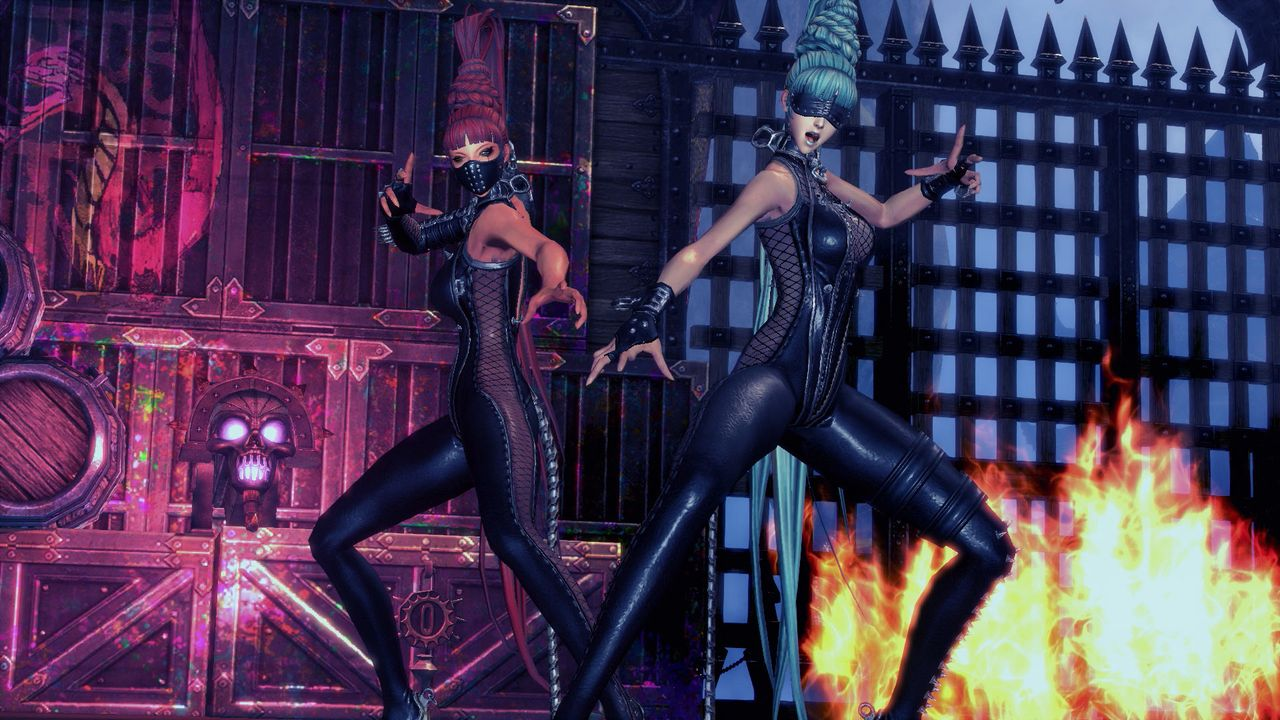
HP: 796,000 each
Enrage: None
CC: 2x
Both bosses attack pattern are fairly random, alternating between Kung Fu Master and Force Master attacks. All attacks except one fire or frost area of effect respectively can be blocked.
At 70% and 30%, if both bosses do not hit the HP threshold at the same time, they will use a four hit martial dance attack that will daze anyone hit with every hit. Their attacks often knockback and a fire wall appears at both the entrance and exit, be careful not to get knocked into it.
If one Widow reaches 1 HP, she enters Chi Recovery state for 50 seconds and becomes immune to further attacks. If this succeeds, she will regain 40% of her health and come back to the fight. This is stopped by defeating the other Widow before the timer ends.
Corridor:
Boatswain Jangrum awaits at the end guarding a raised drawbridge, but he retreats at 80%. Five waves of Yutay adds will arrive from the entrance, with the miniboss returning at the final wave. The levers near the drawbridge can be operated to summon an automaton that stuns the adds.
Navigator Gar Lee, stands guard at the main entrance to the Blackram ship. He will summon multiple training dummies that will explode and damage anyone nearby if not killed.
Inside the ship are the final two minibosses, Quartermaster Lapup and Artillery Officer Bomsiwa. At multiple times throughout the fight, fire will fill the two lanes across the middle of the room, damaging any player that walks into it. This can be dangerous to players with low health.
Admiral Hae Mujin:
HP: 1,970,000
Enrage: 9:00
CC: 2x
Rotation:
- Area of effect Jump, causes aerial, unblockable. If this connects on the tank it will be followed by either a grab or an upward punch. The grab can be interrupted with CC's.
- Frontal 180 degree Leg Sweep, dazing anyone hit. Blockable.
- Area of effect Jump, causes knockdown. Blockable.
- Targeted punch. Blockable.
- Targeted punch, causes Knockback and Daze. Blockable.
- Shadow Dance behind the Tank.
- 3-hit area of effect Spin that causes knockback on each hit. Blockable.
Hae Mujin may randomly do a four hit martial dance on random targets, the last hit will cause knockup.
If the tank is 9 meters or further away, the boss will charge towards them causing daze.
Hae Mujin’s Shadow 80%:
At 80%, the boss will do an unblockable area of effect shout, jump to the center, and summon a clone with the same attacks, which will proceed to spin around the area, knocking back anyone hit by the spin. If the clone is not killed, the real boss will do another unblockable AoE and begin to spin around the room himself, while the clone will fight normally, giving the party a chance to kill it. On the other hand the clone will despawn once the real boss hits 50% health.
Missiles 50%/40%/30%:
At 50%, 40%, and 30%, the boss will repeat the unblockable shout from earlier, jump to the center, and summon six unblockable area of effect missiles attacks three times in total in random spots within the room.
Missile Barrage 20%:
Starting at 20% the boss will alternate between the area of effect shout and missile attacks for the remainder of the fight.