
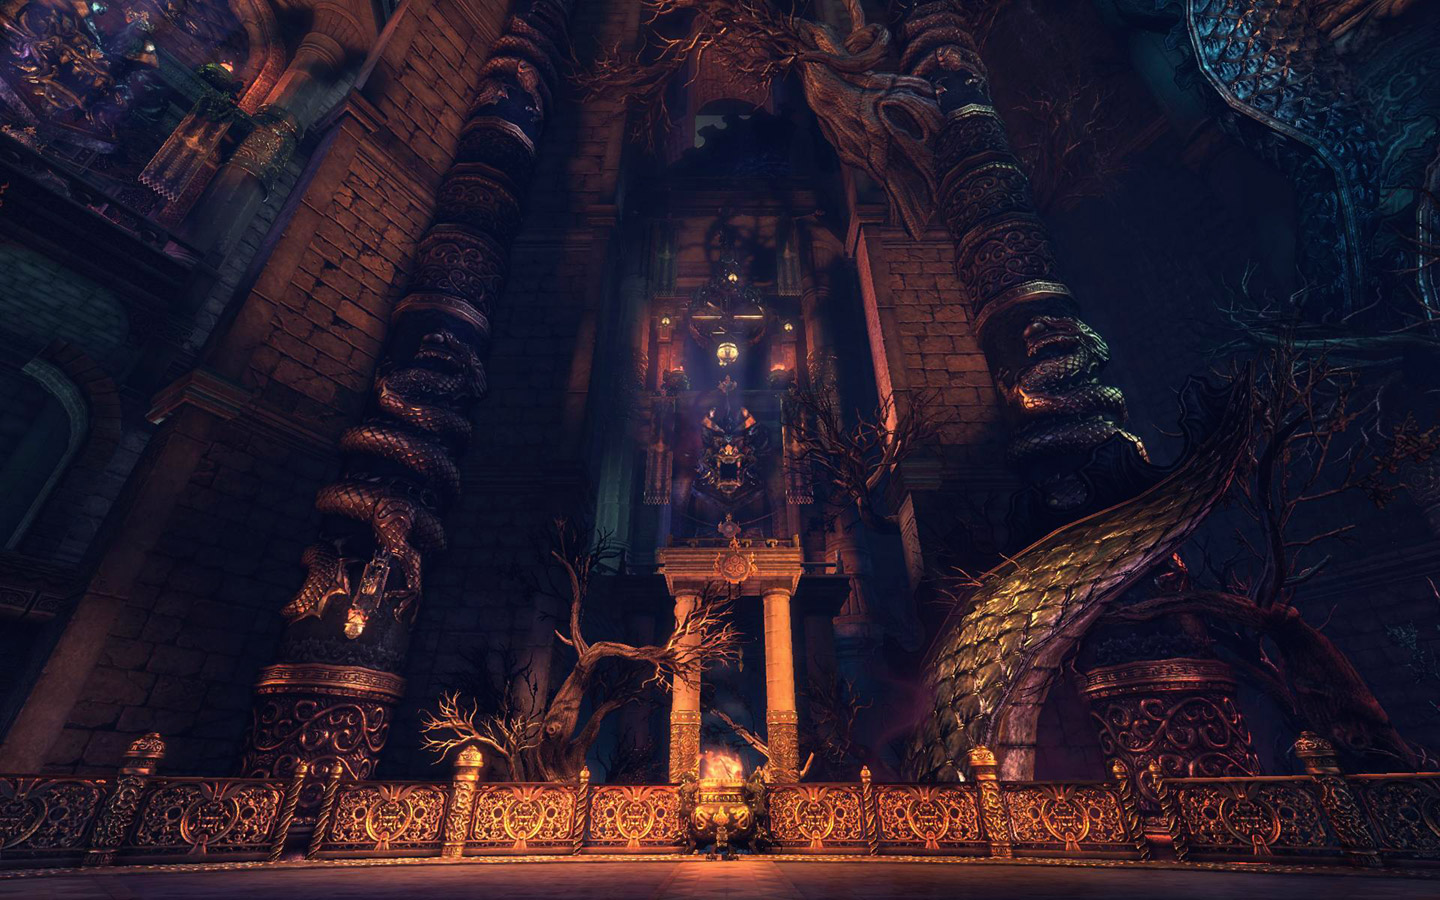
A base of operations of the Phantoms, a division of the Ebondrake Cult that meddles with dark chi. The Citadel is a prison where the Phantoms have captured and corrupted warriors to serve the Dark Lord, including Bonemask, Bokgon Brotherhood, Lycandi, Blackram, Shadowless, and Hao Society.
Requirements/Recommendations:
- Completion of The Shattered Masts and Sogun's Lament
- 2x Stun for the first boss.
- 2x Daze for the first boss.
- 2x Knockdown for the first boss.
- Block/Counter/Parry/Deflect skill for the second boss.
- Party Stealth Invincibility Frame (Only Assassins or Summoners have this) for the final boss.
- Legendary Destiny Ring - Stage 1
- Stone of Wisdom
- Awakened Zakhan Earring
- Ebondrake Soul Shield
Corridor:
Short empty corridor. At the end is the first boss, who is being locked down by the Ebondrake Illusionsts, with two Kung Fu Master Ebondrakes, four Bonemask Patrol Contenders, Bonemask Elite Patrol Troopers, and the miniboss Bonemask Elite Patrol Captain. Attacking the Patrol Captain will aggro everything in the room; kill the aggressive Bonemask adds before killing the passive Force Master Ebondrake Illusionists that awaken Bukka, who will then aggro the person who killed the last Illusionist.
Bukka:
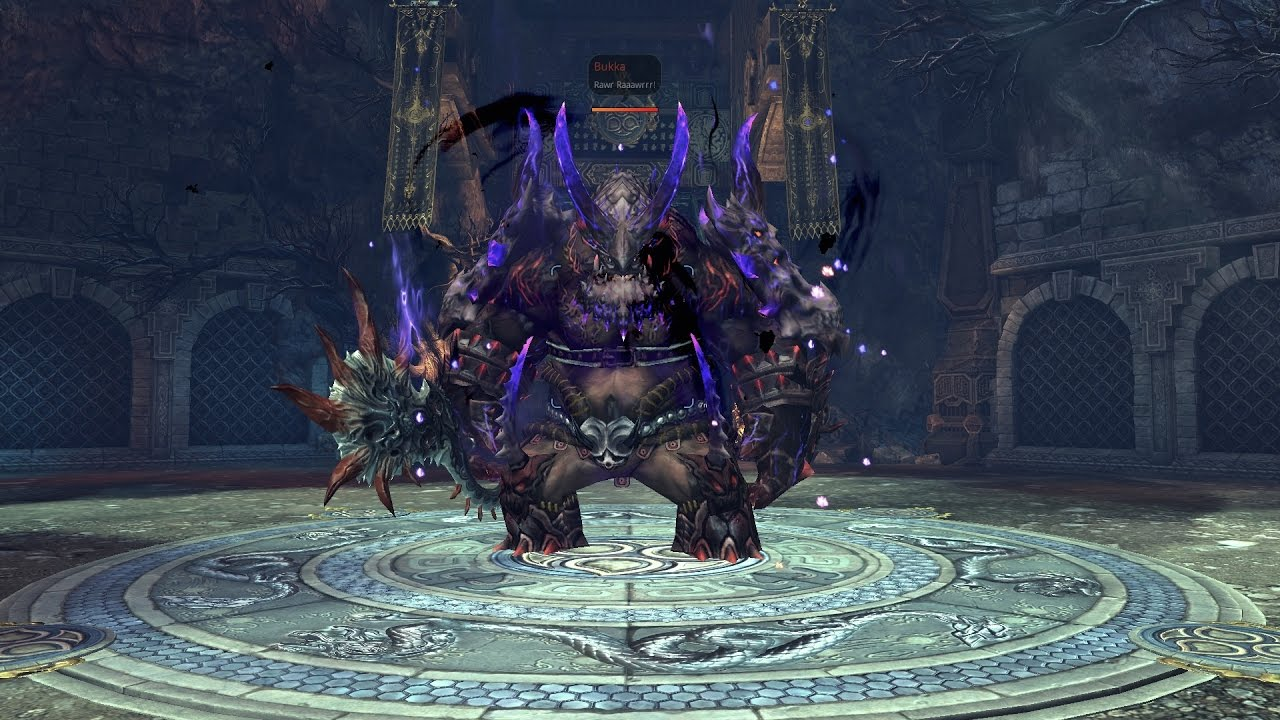
Normal HP: 11,846,000
Hard HP: 18,100,000
Enrage: 6:00
CC: 2x
Double crowd control Stun, Daze, and Knockdown is needed here.
Rotation:
Bukka fights similarly to any Bonemask Elite mobs.
- Targeted swing.
- Frontal linear unblockable shout, causes knockback and knockdown.
- Targeted swing.
- Two 180 degree frontal swings.
- Three frontal swings while walking forward.
Dark Chi Circle:
After every minute, a message warns “Bukka summons a Dark Chi Circle” and Bukka performs a fairly fast unblockable area of effect shout around him and spawns a Dark Chi Circle, a persistent damage puddle, under him. The circle stays there permanently and if ten of these are on the field Bukka will immediately enrage and wipe the party.
Special Phase:
Every 10% of Bukka’s health he will do the below at random. You need to properly 2x CC, or he will repeat his attack two more times, without any extra CC windows, and then create an additional two Dark Chi Circles under people. If you successfully CC he will get a debuff that prevents him from using the same ability in succession; all three debuffs change to "Enfeebled" which is a 5 second Daze.
- “Bukka clears his throat”: He will do a rally call and summon a pair of Contenders and a Shock Trooper from the entrance, and then a 2-hit spin with Knockback and Knockdown on both hits. Double Stun the spin. Produces "Sore Throat" on successful Stun.
- “Bukka rolls his shoulders”: Does a fairly fast field-wide red area of effect shout, then a 2-hit spin with Knockback and Knockdown on both hits. Double Daze the spin. Bukka gains "Dislocated Shoulder" on successful Daze.
- “Bukka stretches his legs”: Charges in the direction of the tank, then on hitting the wall does a 2-hit spin with Knockback and Knockdown on both hits. Double Knockdown the spin. Produces "Broken Leg" on successful Knockdown.
Normal Mode Differences:
- Mechanics occur at 90%/60%/30% instead of every 10% of its health.
Corridor:
A very short corridor containing just a pair of Kung Fu Master Defenders, just jump over them, and glide against the wall of the entrance to de-aggro them.
Magolka:
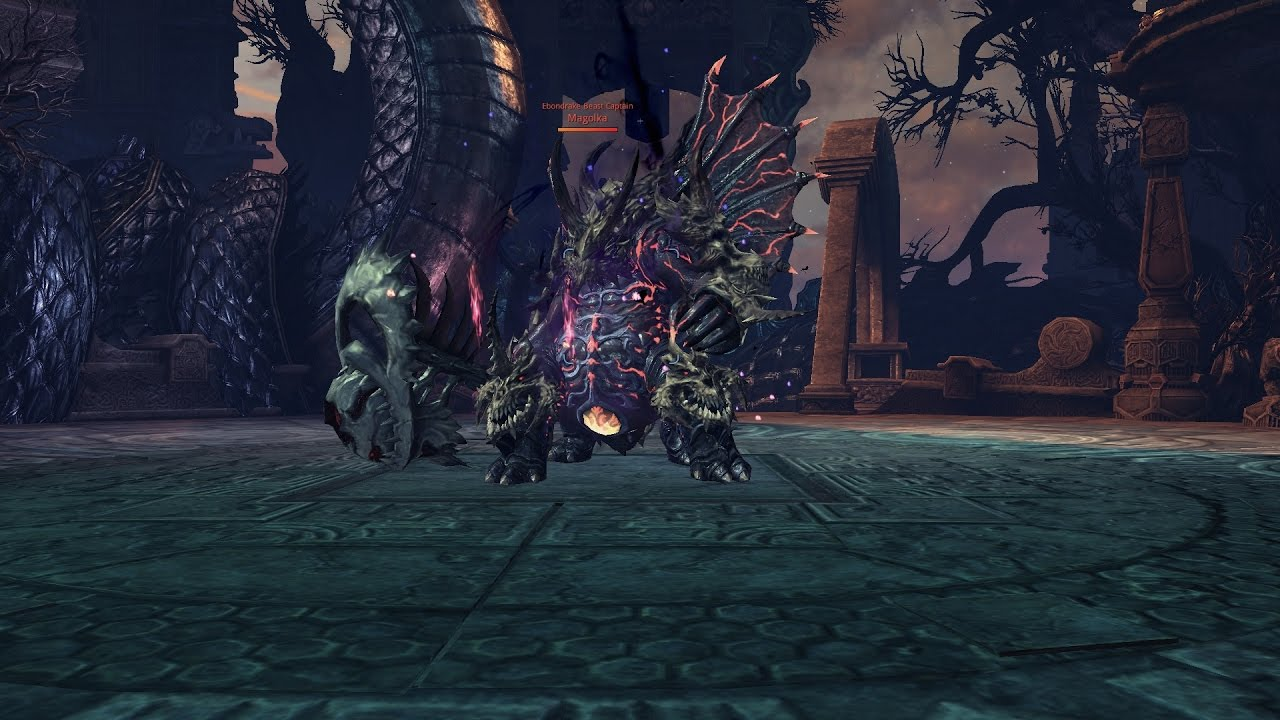
Normal HP: 8,580,000
Hard HP: 13,000,000
Enrage: 6:00
CC: 2x
Rotation:
This boss fights very similarly to Kaari Lord of Cold Storage.
- Frontal rectangular staff swing.
- Targeted downward hammer swing.
- Long-ranged linear red rectangular dark breath, inflicts Knockback and Knockdown.
- 3-hit spin with pauses in-between, the last hit inducing Knockback and Knockdown. Can't be CC'd.
If the tank stands 9 or more meters, Magolka jumps at them producing a unblockable area of effect slam.
Special Phase 90%/50%/10%:
- Magolka cleanses all debuffs and jumps to the middle, producing an unblockable area of effect that knocks back.
- A message warns “Magolka uses Magol Insight and summons help” and Magolka will plant his staff in the ground and summon a pair of adds: Bonemask Machung who does an area of effect shout, and Ploggle Golsun who throws poison projectiles, at random positions in the eight circles on the field always on opposite ends. At the same time everyone will gain the "Magolka Energy" debuff. Kill the two adds immediately to dispel the debuff.
- Magolka can be CC'd and Grabbed/Phantom Gripped/Grappled/Aerial right after summoning. If there is an Assassin in the party, let them use Webbing on Magolka, but do not attack the web or it will break. They should have the highest priority in webbing, as they can still fight the mobs with Magolka webbed.
- Magolka can be CC'd and Grabbed/Phantom Gripped/Grappled/Aerial right after summoning. If there is an Assassin in the party, let them use Webbing on Magolka, but do not attack the web or it will break. They should have the highest priority in webbing, as they can still fight the mobs with Magolka webbed.
- Magolka does one of the following:
- Long-ranged linear unblockable dark breath.
- Fires projectiles at random people that inflicts Knockback and Knockdown.
- Long-ranged linear unblockable dark breath.
- Magolka does a five field-wide unblockable area of effect stomps. If Magolka Energy isn't dispelled, everyone receives an inescapable lockdown that ignores iframe and each hit does very high damage, with the final hit being a Knockback and Knockdown. Additionally, the adds become immune to further damage, and are then absorbed by Magolka providing him a permanent stackable "Enhanced Attack Power" buff which increases his damage and also heals him by 5% per add.
- After the stomps, there is a very brief window where Magolka can be CC'd.
- After the stomps, there is a very brief window where Magolka can be CC'd.
Special Phase 70%/30%:
- Magolka cleanses all debuffs. A message warns “Magolka creates Orbs of Corruption” and Magolka will plant his staff down and create a sphere on one of the eight circles in the room. This periodically fires roots at random people. More Orbs will spawn over time unless Magolka's following attacks are interrupted, but do not Grab/Phantom Grip/Grapple him at any point in this phase unless you can kill him by then.
- Magolka jumps to the furthest person from him.
- Magolka does a field-wide unblockable area of effect roar, which can be stopped with CCs. If not interrupted, he will perform another roar which cannot be CC'd.
- Magolka raises his staff, then charges in the direction of the furthest person, which he can be stopped with Block/Counter/Parry/Deflect skills.
- Magolka repeats the jump, roar, and charge two more times. He will not repeat the staff raising animation.
- Magolka jumps to the middle.
- A message warns “Magolka triggers [#] Orbs of Corruption” and the orbs will start moving around, and bounces back if they hit the wall. Meanwhile, the boss will be firing projectiles at everyone. Block/Counter/Parry/Deflect the orbs within 15 seconds or they explode, do high damage across the entire field (can be iframed), and provide Magolka a permanent stackable "Enhanced Attack Power" buff which increases his damage and also heals him by 5% per orbs.
Normal Mode Differences:
- Mechanics occur at 90%/30% adds and 60% jump/roar/charge, instead of 90%/50%/30% adds and 70%/10% jump/roar/charge.
- Magolka does not spawn any Orbs of Corruption; he will not plant his staff into the ground and skip straight to jumping.
Corridor:
Jump over the Blade Master, Kung Fu Master, and Force Master Senior Guards and Destroyer Senior Guard in your way as you head to a spiral staircase. There are five prison cells as you head down the stairs, only the first four are accessible until all of them are cleared. Each cell is guarded by a pair of Blade Master, Kung Fu Master, or Force Master Guard Cadets and a Destroyer Guard Cadet (Destroyer Guard has inherent True Sight, and can see Assassin players in stealth) and houses a miniboss that is inactive with the Force Master Illusionists hovering above them. These Illusionists pulse a buff, varying by cell, to each of the minibosses in the other Cells.
- Force Master Bi Chunhan and Kung Fu Master Lak Rin of the Bokgon Brotherhood, the first bosses of Tomb of the Exiled. While sealed, they pulsate "Bi Chunhan Defense", granting 40% damage reduction to the other jailed minibosses.
- Spearman Chuluun the Strong and Archer Sakhi the Swift of the Lycandi, assisting NPCs from Awakened Necropolis. While sealed, they pulsate "Lycandi Dodge", granting 45% Evasion to the other jailed minibosses.
- Blade Master Wun Gwangyi, Flame Force Master Fah Ri, and 58.3k HP Frost Force Master Ise Si of the Blackram, the second bosses of Blackram Narrows. While sealed, they pulsate "Wun Gwangyi Defense", granting 40% damage reduction to the other jailed minibosses.
- Assassin Dark Striker, Blade Master Nightshade Warden, and Force Master Nightshade Warden of the Shadowless, the bosses of Shadowstrike. While sealed, they pulsate "Black Viper Dodge", granting 45% Evasion to the other jailed minibosses.
- Kung Fu Master Choi Mansik, Assassin Weasel, Hammer Brute Diamond, and Force Master Red Fox of the Hao Society.
Bale Phantom Zakhan:
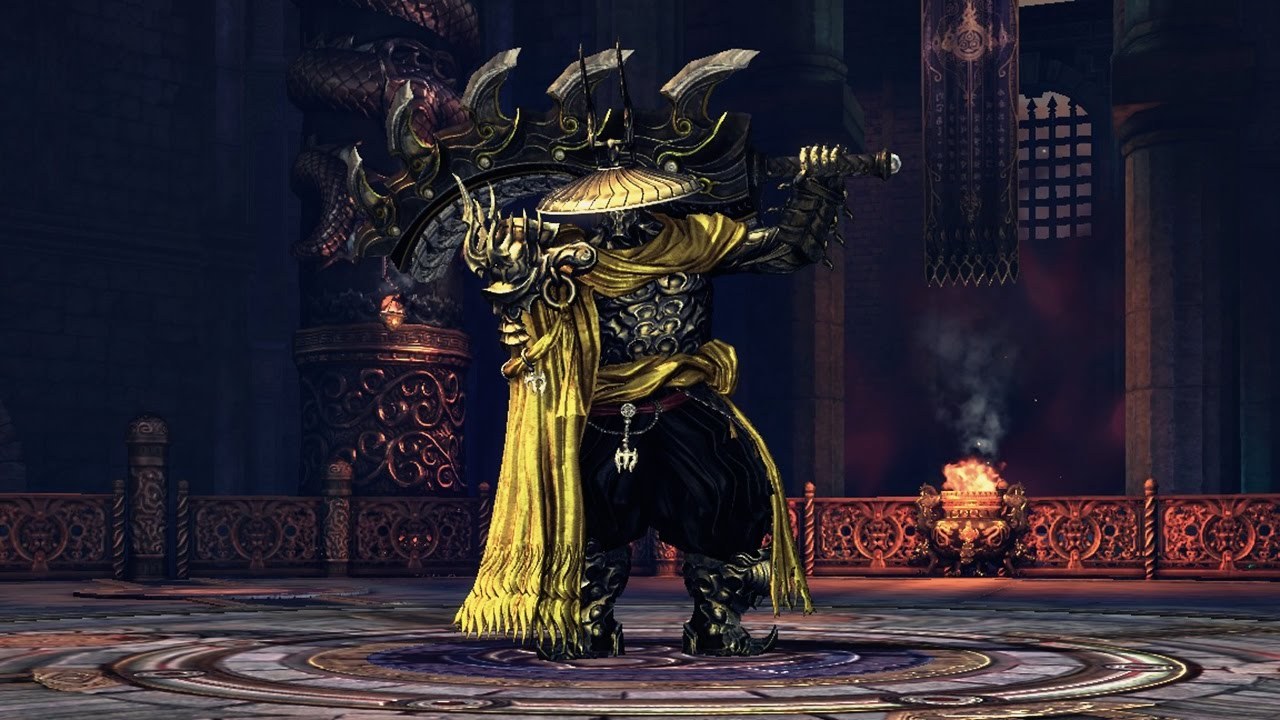
Normal HP: 35,772,000
Hard HP: 54,200,000
Enrage: 9:00
CC: 2x
This Ebondrake demon serves as the warden of the Citadel, and true to his nature he is armed with powerful, dark energies. Despite his massive sword, his attacks are deceptively and devastatingly quick, making him truly a force to be reckoned with.
Despite his dauntingly high health, majority of damage dealt is inflicted through mechanics and buffs.
Party Stealth via Assassin or Summoner is required here. However, be very careful with your DPS, as pushing Zakhan to perform consecutive phases may render the Assassin/Summoner's party iframe unavailable due to cooldowns, and thus fail the next mechanic and likely cause people to die.
Rotation:
His rotation is entirely random, most are extremely fast, and all of them cause some form of CC, making him difficult for inexperienced tanks.
- Fast single downward frontal swing. Sometimes he will follow up with two more downward swings, which have near instantaneous speed. Causes knockdown. Being hit by this three times in a row will cause a massive drop in aggro, so be very careful if you are the tank. Blockable. First swing is CC'able if followed after teleporting away.
- Fast double 180 degree frontal swipes. Second hit causes daze. Blockable and CC'able.
- Leans backward and leaps forward into an unblockable spinning sawblade on the target, dealing multiple hits and has a small area of effect splash, inflicts Daze.
- Fast long-ranged wide frontal unblockable crescent energy wave, inflicts Knockback and Knockdown.
- Drags his blade across the ground and throws a narrow long-ranged frontal unblockable crescent energy wave. Surprisingly very slow.
- Teleports away from the tank. Is immune to damage while teleporting.
- After 90%, Zakhan summons six red area of effect dark circles on areas around him that explode, inflicts Knockback and Knockdown. These have visible indicators even in 4-man.
Despite his incredible speed, it is possible for the tank to stand under Zakhan and run inside him and out, allowing them to avoid his attacks without having him turn around.
If the tank stands 9 meters or further away:
- Fast long-ranged wide unblockable crescent energy wave.
- One of the following:
- Teleports behind the tank.
- Spinning sawblade.
- Teleports behind the tank.
Special Phase 90%/70%/50%/30%/10%:
First at 90%, a message warns “Bale Phantom Zakhan shows his true self”, changing his right arm cloak to a monstrous arm.
90%/70%:
- Zakhan will teleport to in one of the four corners or the middle of the room, and a message warns “Bale Phantom Zakhan is watching someone” (90%) or “Soulbinding Eyes: Bale Phantom Zakhan has his sights on someone” (70%/50%/30%/10%), and marks the furthest person from him, who gains a red swirl. Everyone needs to huddle up under the boss.
- Zakhan fires a 3 meter blockable area of effect blast at the marker; everyone except the marker must stop attacking so the Assassin/Summoner can use Protection Decoy/Enhanced Seed Shroud to stealth all the non-markers. Marker is immune to the blast, so they won't proc stealth iframe; if the Assassin is the mark they must avoid using enter stealth skills.
- Zakhan will raise his hand up high and also let out a grunt before he fires the blast. Decoy/Seed Shroud should ideally be cast as the hand reaches the height of its peak or a bit after hearing the grunt, and Protection Decoy/Enhanced Seed Shroud should be cast as the blast is falling.
- Zakhan will raise his hand up high and also let out a grunt before he fires the blast. Decoy/Seed Shroud should ideally be cast as the hand reaches the height of its peak or a bit after hearing the grunt, and Protection Decoy/Enhanced Seed Shroud should be cast as the blast is falling.
- Zakhan will proceed to fire four single-target dark projectiles in the order of the people who first hit him since engage, but only target visible people, which is why an Assassin/Summoner is required; Blade Master's Winged Protector, Blade Dancer's Maelstrom, Force Master's Frost Sheath, and Destroyer’s Iron Plating does not do anything besides negate damage. Anyone without the marker who is hit by this will receive the "Twisted Chi" debuff for 10 seconds which locks players down in an inescapable bind and does very high damage over time and receiving any attack under Twisted Chi does very high damage but removes the lockdown.
- The marker is required to be hit by all four (does no damage to them) to give the marker the "Demonic Energy" buff which increases Attack Power by 20%, and the “Demonic Energy Resonance” buff for 10 seconds which lets the marker share the former to nearby players; stay next to your group so that the buff gets transferred to the whole party. Demonic Energy lasts 2 minutes, but deals a small damage over time and becomes Twisted Chi if it times out.
- The mechanic is failed if the marker did not eat all four projectiles because they went to other people. This happens if the marker did not lure the area of effect blast to be stealthed to everyone, someone was not in range of the area of effect to be stealthed, the Assassin/Summoner failed to stealth, the marker entered and did not leave stealth, or a non-marker immediately attacked and left stealth.
- Once Zakhan lifts his arm up and starts firing the blasts, he has finished his targeting sequence so everyone can resume attacking.
- The marker is required to be hit by all four (does no damage to them) to give the marker the "Demonic Energy" buff which increases Attack Power by 20%, and the “Demonic Energy Resonance” buff for 10 seconds which lets the marker share the former to nearby players; stay next to your group so that the buff gets transferred to the whole party. Demonic Energy lasts 2 minutes, but deals a small damage over time and becomes Twisted Chi if it times out.
- A message warns “Bale Phantom Zakhan uses Heaven’s Breach”: he will cast a field-wide force lift for 5 seconds that is not iframable, then does a field-wide unblockable area of effect explosion that knocks back and knocks down.
- If you have the Demonic Energy buff you will be rooted in place and won't be affected by Heaven’s Breach. Escaping the root does not rebind you or make you vulnerable to Heaven’s Breach.
- If you do not have the buff because mechanics failed, use an iframe bubble, Blade Master’s Winged Protector or Force Master’s/Destroyer’s Frost Sheath/Iron Plating. Getting marked or being the 5th or 6th person to hit Zakhan from the start guarantees you not getting locked down by Twisted Chi.
- If the mechanic was failed but the marker somehow survived up until this point, their expired marker becomes Twisted Chi at this point.
- If you have the Demonic Energy buff you will be rooted in place and won't be affected by Heaven’s Breach. Escaping the root does not rebind you or make you vulnerable to Heaven’s Breach.
50%:
Two new things will happen:
- Immediately at the start of this phase, a message warns “Bale Phantom Zakhan is creating a Demonic Seal”, and purple field surrounds the outer walls. A field-wide damage over time effect is applied permanently for the remainder of the fight, stacking with the Demonic Energy damage over time as well; if you die from this point on, the Demonic Seal will stop you from doing chi recovery.
- Zakhan instead marks the two furthest people, but one of these is a fake; Zakhan grabs the farthest person from him and throws them, which also removes their mark. The second farthest will still keep their marker.
- Blade Master's/Blade Dancer’s Winged Protector/Maelstrom and Force Master's/Destroyer’s Frost Sheath/Iron Plating can be cast to negate the grab damage and knockback.
- Blade Master's/Blade Dancer’s Winged Protector/Maelstrom and Force Master's/Destroyer’s Frost Sheath/Iron Plating can be cast to negate the grab damage and knockback.
30%/10%:
Zakhan will mix up his marking for these two phases. He will either:
- Marks the two furthest people from him, and grabs, throws, and unmarks:
- The first farthest; the second farthest keeps their mark.
- The second farthest; the first farthest keeps their mark.
- The first farthest; the second farthest keeps their mark.
- Marks only the furthest person from him, and makes no attempt to grab anyone.
Dark Void:
After the 90% special phase, Zakhan will cast this rotation every 40 seconds.
- Zakhan teleports to the middle and a message warns “Bale Phantom Zakhan uses Dark Void”, casting a field-wide vacuum and then prepare for a field-wide unblockable area of effect. You cannot iframe the vacuum unless you have a skill that specifically resists Daze (you'll still get pulled anyway, but your character won't be Dazed). The damage, however, can be iframed. There are multiple ways to handle this:
- A minimum of two non-Assassin, Summoner, or Warlock classes can use Second Wind, which will apply Daze on Zakhan.
- Blade Dancer and Destroyer can use Vortex and Hurricane respectively to negate the Daze vacuum and use CCs on their own.
- Warlock can cast Sanctum Move 2 to negate the Daze vacuum, however they should put it somewhere where it does not affect the rest of their party.
- Summoner can use Retreat SS to render their cat unaffected by the Daze vacuum.
- Assassin can use Stealth (Second Wind) while facing away from Zakhan into Spinal Tap or plant a Landmine before the pull and detonate it after, however it is a 2x Stun and Knockdown respectively and not a Daze. Daze Swiftstep cannot follow-up as it is too slow to do so.
- A minimum of two non-Assassin, Summoner, or Warlock classes can use Second Wind, which will apply Daze on Zakhan.
- Zakhan casts 6 dark exploding circles.
- Zakhan grabs the furthest person (not iframable), throw his victim, and steal their buff, making him stronger but damages him by 8% of his health when it expires after a minute.
- The marker and then the Assassin/Summoner should be the one to be grabbed is that so they don't get locked down after their debuff expires as they need to do the mechanic.
- The grab is CC'able but do not interrupt it; the entire throwing and player tumbling animations must complete for the buff to be transferred.
- Blade Master's/Blade Dancer’s Winged Protector/Maelstrom and Force Master's/Destroyer’s Frost Sheath/Iron Plating can be cast to negate the grab damage and knockback.
- The marker and then the Assassin/Summoner should be the one to be grabbed is that so they don't get locked down after their debuff expires as they need to do the mechanic.
Normal Mode Differences:
- Zakhan does not teleport away, and rarely uses his sawblade and after 90% spawn dark circles. His wide crescent sweep has significantly longer wind-up, unless the tank stands too far.
- Mechanics occur at 90%/60%/30% instead of 90%/70%/50%/30%/10%, and only does mechanics in the center of the room.
- Zakhan does not put up the Demonic Seal, nor does he apply secondary fake marks.
- Zakhan does not put up the Demonic Seal, nor does he apply secondary fake marks.