
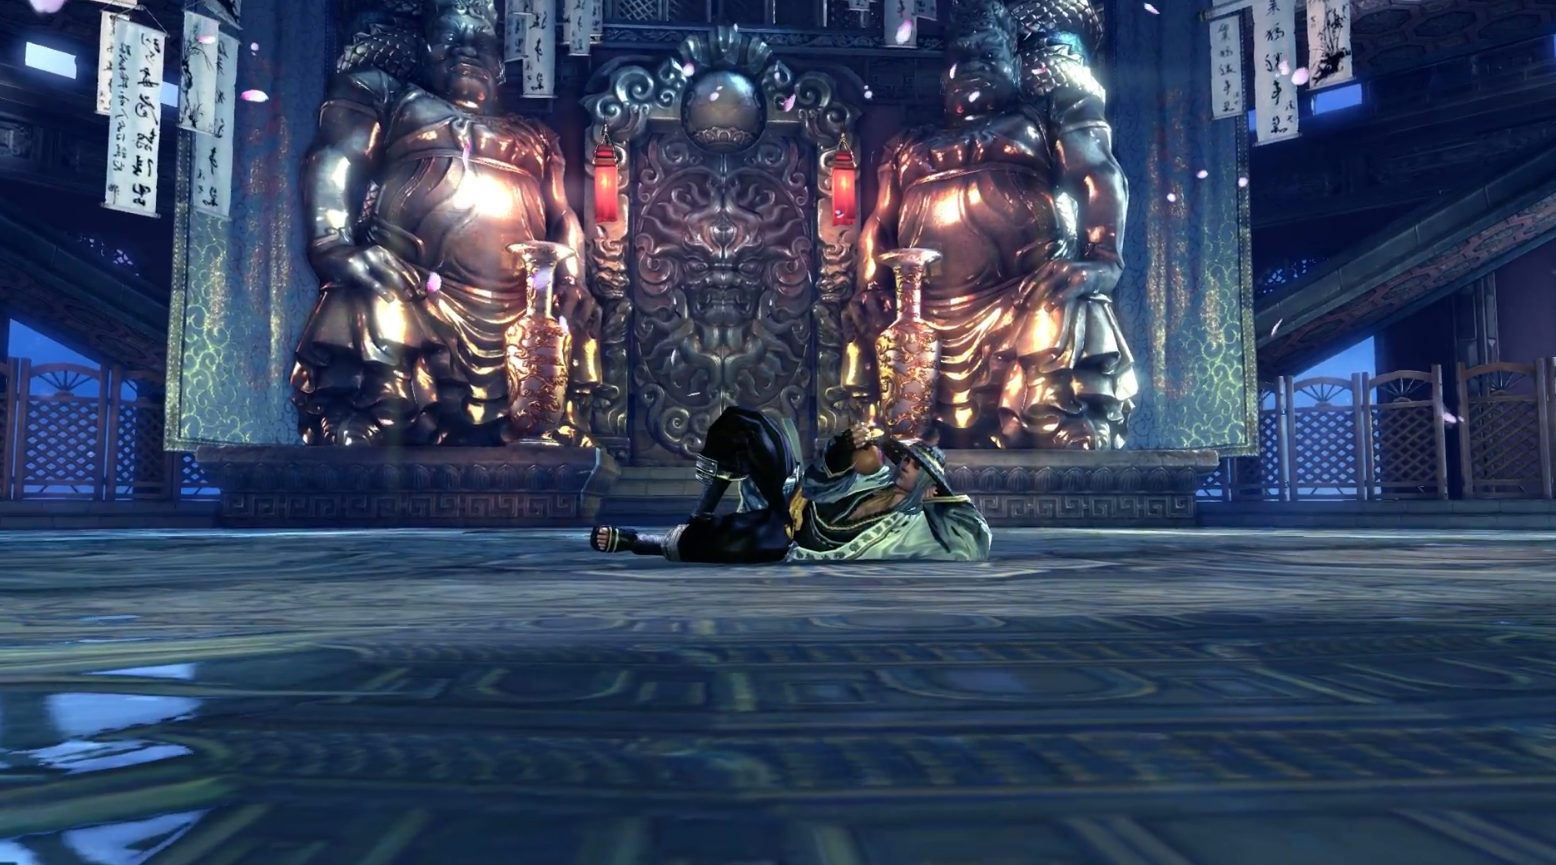
The Tower has expanded and continues to hold stronger enemies. They say a demigod sits atop the fifteenth floor; though his fighting style may seem erratic and laughable, care not to underestimate him, or you may find yourself off your feet as he drinks in celebration of your defeat.
Requirements/Recommendations:
- "Mushin's Tower: Darkness Calls" quest - Requires being level 50 and requests clearing Floors 1-7.
- Block/Counter/Parry/Deflect skill for Floor 14.
- Moonstone Crystal
- One Crystal has a chance to drop on Floor 14, one Crystal is guaranteed to drop on Floor 15, a 10-bundle has a chance to drop on Floor 15.
- One Crystal has a chance to drop on Floor 14, one Crystal is guaranteed to drop on Floor 15, a 10-bundle has a chance to drop on Floor 15.
- Naksun Badges
- Shadovv : Writer
- Praetor19 Mushin's Tower Floor 9-15 Showcase
All floors of Mushin's Tower are solo-only.
Before you ascend the tower from Jakdan's Room, the gatekeeper Chungsil asks if you'd like to start from Floor 9. There is a quest on clearing Floor 12 that allows the option to start from Floor 13 directly; this option requires a ticket that is dropped on Floors 12-15, with Floors 12 and 13 having the highest rate for this.
Floor 9: Chochunka/Kurakan
HP: 833,000
Enrage: 4:00
CC: 2x
The 9th floor boss has a random chance to be one of two monsters. While their attack patterns are different, both have the HP, enrage timer, and mechanics.
Chochunka: A Chuanka boss similar to those in the Shiverstone Range.
- Targeted claw swipe.
- Two targeted claw swipes.
- Linear frost breath, stacks Chill and Freeze on 3 Chill stacks, unblockable.
- 3-hit area of effect Spin, the last hit inflicting Knockback and Knockdown.
- Flies up and throws three frontal 180 degree gusts, each hit inflicts Knockback.
If you stand 9 meters or farther away, Chochunka throws a snowball projectile. If you’re still too far, he’ll jump on you, producing a unblockable area of effect slam inflicting Knockdown.
Kurakan: A Jomu Chieftian similar to those in the Shiverstone Range.
- Targeted punch.
- Frontal 180 degree sweep into a linear ground pound, the latter inflicts Knockdown.
- Linear frontal shout with windup, inflicts Knockback and Knockdown.
- Area of effect ground pound, inflicts Knockdown and Chill, unblockable. Can't be CC'd.
If you stand 9 meters or farther away, Kurakan throws two snowball projectiles with a small unblockable area of effect. If you’re still too far, he’ll jump on you, producing a unblockable area of effect slam inflicting Knockdown.
Corruption Orb Dispenser 75%/45%:
- The boss does a shout. Chochunka does a blockable area of effect while Kurakan's is unblockable with Knockdown.
- The boss cleanses all debuffs, jumps to the middle (does no damage), and does a shout animation. A message warns "The Corruption Orb Dispenser has been activated."
- Afterward the shout, the four nodes in the corners of the room will light up. Standing on them will cause the large sphere hanging up in the middle of the room to drop down on the boss, dealing 15% of their health and produces a 5 second Knockdown, instantly ending the mechanic.
- If the Corruption Orb Dispenser is not activated, numerous icicles from the ceiling will fall in random places. At the same time, the boss gains 5 second True Sight that sees Assassins through Stealth Stance (if they are out of stealth prior), Chochunka throws four snowball projectiles while Kurakan throws three, and both then charge around the room three times inflicting Knockback and Knockdown.
- The boss jumps back to the middle of the room and repeats the entire phase until the Corruption Orb Dispenser is activated.
Floor 10: Mifu
HP: 680,000
Enrage: 4:00
CC: 2x
This Ironclad-type enemy is a large hulking brute armed with a demonic-looking gauntlet, and fights similarly to Linam/Muso from Lumang Stronghold and Yong/Ugum/Yeomchul/Hwang Po of Soulstone Plains.
Rotation:
All his attacks have a lot of windup and usually leave him slumping on the floor.
- Targeted arm swing.
- Three-hit frontal rectangular ground pound, the last hit inflicting Knockdown.
- Long-range wide rectangular arm thrust. Can't be CC'd.
Periodically during his attacks, Mifu gains 5 second True Sight and does a unblockable area of effect ground pound, which then spawns six flaming puddles, five in a pentagonal formation around him and one in the middle. He then fires four projectiles. Can't be CC'd throughout the entirely of this attack.
If you stand 9 meters or farther away, Mifu fires an unblockable area of effect cannon. If you’re still too far, he’ll jump on you, producing a unblockable area of effect slam inflicting Knockdown.
Flaming Palm 75%/45%:
- Mifu jumps to the middle (does no damage).
- A message warns "Mifu is about to cast Flaming Palm"; he casts a field-wide unblockable area of effect slam. As he does this, four “Hajoon's Belonging” boxes spawn around Mifu and grant a 5 second “Guard Barrier” when destroyed, providing immunity to the Flaming Palm attack. Flaming Palm is cast four times in total.
Floor 11: Pal Haemo
HP: 667,000
Enrage: 4:30
CC: 2x
A Dokkaebi King similar to Durlock of Pilfered Treasury.
Rotation:
- Targeted hammer swing.
- Frontal 180 degree hammer swing. Has windup.
- Long-ranged wide linear downward hammer swing, inflicts Knockdown. Has windup.
- 3-hit area of effect spin, each hit inflicts Knockback and Knockdown.
If you stand 9 meters or farther away, Pal Haemo throws a flame projectile. If you’re still too far, he’ll teleport next to you with a shoulder bash.
Dokkaebi Weapon Rack 75%/45%:
- Pal Haemo gains 5 second True Sight and generates a unblockable area of effect flame explosion inflicting Knockback and Knockdown.
- Pal Haemo gains immunity to damage, teleports to the middle of the room, and does a shout animation. As this happens, a message warns "The Dokkaebi Weapon Rack has been activated"; pick up one of the hammers on the two sides of the room.
- Multiple flaming puddles are planted on the field, and Pal Haemo fires five flaming projectiles (does no damage). As this happens, three Gourds spawn in a triangle formation around Pal Haemo; use the Dokkaebi Weapon to destroy them instantly. Each destroyed Gourd grants a 2 minute "Fervor" for 10% critical rate and stacks. When all Gourds are broken, they grant 15 second "Blessings of the Gourd" which grants immunity to damage.
- After the projectiles, the puddles will then disappear and Pal Haemo loses his damage immunity. He will shoot unblockable linear flame outwards in eight directions around him, with a flaming puddle under him as he does this. If the Gourds are not destroyed, they hatch into Hammer Dokkaebi to harass you.
Floor 12: Yuri Defense & Pytheon
Yuri Defense:
You are presented with a crystal called Yuri, it has 371,000 HP and must be defended in a similar manner to Darkglimpse/Tainted Lab/Awakened Necropolis from four waves of Yeti and Naga adds.
To aid you, there two nodes: a red node to the left of Yuri provides a bead to be placed on one of the two sets of five empty slots on both sides of the Yuri that spawns a Gunner Golden Training Dummy to occupy the mobs and fully heals out of combat, while the right node heals Yuri back to full health. The nodes can be interfaced with twice from the beginning and once again after each wave. If Yuri is destroyed or you have been defeated, the entire fight is reset back to the first wave.
Pytheon:
HP: 739,000
Enrage: 4:00
CC: 2x
Once all four waves are defeated, Yuri and the Golden Training Dummies despawn as the floor's boss Pytheon appears, a who fights similarly to Bladescale Naga King from Lair of the Frozen Fang. You do not need to defend Yuri again should you lose to Pytheon.
Rotation:
- Targeted swing.
- Frontal 180 degree swing with windup. Can't be CC'd.
- Blindside behind his target.
- Unblockable linear downward sword slam with windup, inflicts Knockdown.
- Puts its shield in front of it and blocks frontal attacks, then does a frontal unblockable 180 degree shield bash inflicting Knockback and Knockdown.
- 3-hit area of effect spin, each hit inflicting Knockback and Knockdown.
If you stand 9 meters or farther away, Pytheon spits a poison puddle at you. If you’re still too far, he’ll jump at you, producing a unblockable area of effect slam.
Periodically, Pytheon does another pattern in the middle of his rotation:
- Area of effect ground shield slam with windup, produces Knockdown.
- Twirls his sword in the air and drops six swords in random locations producing a unblockable area of effect slam. This is done three times.
Floor 13: Sekjin/Koujin
HP: 998,000
Enrage: 4:30
CC: 2x
Here is a Wheel of Fate that has a 50/50 rate of spawning either Sekjin or Koujin, which fight identically to Fujin and Raijin respectively from Naryu Labyrinth. Take an Ancient Guardian's Essence from Chungsil for 10 silver to spin the wheel; unlike Floor 6 there is no recall device, but going back down to Floor 12 and back up will despawn the summoned monster.
Chungsil also sells Kaoliang Ju damage immunity potions that can be quite handy on Floor 15.
Sekjin Rotation:
- Frontal 180 degree sweep into a linear Punch, the latter inducing Knockback and Daze. Can't be CC'd.
- Frontal 180 degree Leg Sweep inducing Knockdown.
- Holds his hands in front of him. This is a Counter, if hit into, he'll induce Stun, and then try to grab the stunned person and smack them around for a bit.
- Frontal 180 degree sweep into a linear Punch. Unlike the first one, this can be CC'd.
- Teleports away from his target, is immune to damage while doing so.
If you stand 9 meters or farther away, Sekjin does a dashing uppercut inducing Daze.
If Sekjin is Knocked Down, he will do a very fast 360 spinning wind kick inflicting Knockdown.
After 90%, Sekjin periodically spawns tornadoes that slowly travel to you, they will bounce around the room if they hit the walls and inflict Aerial.
At 81%, 61%, 41%, and 21%:
- Sekjin does an area of effect gust with a lot of windup, inflicts Knockback and Knockdown.
- Sekjin throws four wind kick projectiles, each inflict Knockback and Knockdown.
- At 61%, 41%, and 21%, Sekjin throws a long-ranged wide linear crescent gale inflicting Knockback and Knockdown.
- At 61%, 41%, and 21%, Sekjin throws four wind kick projectiles.
- At 41% and 21%, Sekjin does a three-hit martial dance combo on random people, the first and second hits inflicts Knockback and Daze, and the last hit inflicts Aerial.
Koujin Rotation:
- Channels lightning in a cone with windup, inflicts Knockback and Knockdown. Can't be CC'd.
- Channels lightning in an area of effect with windup, inflicts Knockback and Knockdown. Can't be CC'd.
- Channels a lightning wall in front of him, inflicts Stun. Unblockable.
- Channels a linear lightning burst with windup, inflicts Knockback and Knockdown. Can't be CC'd.
- Channels a linear lightning burst
If you stand 9 meters or farther away, Koujin uses Phantom Grip and electrocutes his victim multiple times.
If Koujin is Knocked Down, he will do a very fast 360 lightning area of effect inflicting Knockdown.
After 90%, Koujin spawns lightning spheres that slowly travel to you, they will bounce around the room if they hit the walls and inflict Stun.
At 81%, 61%, 41%, and 21%:
- Koujin prepares a field-wide unblockable area of effect lightning. This can be interrupted with CC.
- Koujin throws an electric sphere that deals three hits, each inflicting Stun.
- At 41%, Koujin drops six lightning bolts at random locations six times, each with a unblockable area of effect on impact.
Floor 14: Ironheart
HP: 1,040,000
Enrage: 4:30
CC: 2x
Hongsil spent a fortune to reconstruct this Naryu Automaton who fights similarly to Ironsides from Talus Dungeon. A new gimmick to this fight has all attack indicators being invisible.
Rotation:
- Targeted swipe.
- Two frontal drills with a very small area of effect, inflicts Knockdown.
- Fires a linear spray of bullets inducing Knockback and Daze.
- Fires a long unblockable linear laser inducing Knockback and Knockdown.
- Unblockable area of effect electric pulse inducing Knockback and Knockdown. Can be CC’d.
If you stand 9 meters or farther away, Ironheart fires a volley of missiles that leave a flaming puddle. If you’re still too far, he’ll jump at you, producing an unblockable area of effect slam.
If Ironheart is Knocked Down, it will do an area of effect spinning get-up attack, inducing Knockback and Knockdown.
Missile Barrage 85%/55%:
- Ironheart gains 5 second True Sight and does a field-wide unblockable area of effect slam.
- Ironheart gains 5 second True Sight and fires three missile volleys.
- Ironheart curls up into a ball and charges three times around the room, bouncing around the walls, inflicting Knockback and Knockdown. This can be stopped with a Block/Counter/Parry/Deflect skill which leaves him Dazed for 5 seconds.
- If the charge is not stopped, Ironheart uncurls and endlessly cycles between three missile volleys and charging.
- A Force Master, Summoner, Warlock, or Gunslinger can cheese the fight by engaging from range and not block the charge while kiting his missiles and attacking.
- A Force Master, Summoner, Warlock, or Gunslinger can cheese the fight by engaging from range and not block the charge while kiting his missiles and attacking.
Spirit Power 70%/40%/25%:
- Ironheart gains 5 second True Sight and dashes to the middle.
- Ironheart curls up and becomes untargetable and unattackable. A message warns “Ironheart erects a Static Shield around him” and an electrical barrier is formed around it, knocking you back on contact.
- A message warns “Ironheart recovers his Spirit Power by transforming himself” and three Repairbots are summoned around it, all untargetable/unattackable as well. During this phase the Repairbots will be giving Ironheart a buff, indicated by the message “Ironheart recovers 25%/50%/75% of his Spirit Power” every 15 seconds; you have a minute to complete the mechanic before it reaches 100%, else he will repeatedly use a unblockable area of effect slam that instantly kills you. He will also fire a missile volley at 50%.
- After summoning the Repairbots, Ironheart fires a Fightbot, which produces a unblockable area of effect on landing. The Fightbot has 147,200 HP, 2x CC bars, inherent True Sight, and the same attacks as Ironheart except the area of effect electric pulse, a get-up attack on Knockdown, and the missile volley. The Fightbot will self-destruct if Ironheart reaches 100% Spirit Power.
- Once the Fightbot is destroyed, it will drop a Shock Orb; pick it up and throw it at Ironheart. A message warns “The Static Shield around Ironheart dissipates” and the electrical barrier will be removed, inflict 10% HP damage, and the Repairbots will no longer be shielded, but Ironheart will still be unattackable. The three Repairbots can be destroyed in a single hit from any attack, which will then stop it from recovering Spirit Power and come out of its immunity phase. If the Orb is not thrown after 15 seconds, it will explode and become unusable.
Floor 15: Naksun
HP: 1,240,000
Enrage: 5:30
CC: None
Dubbed as "the Tharama/Demigod" and the "Nightmare of the East", and was once the final boss of the Dreadtide Arena, Naksun proves to be one of the biggest challenges in Mushin's Tower with his drunken fist martial arts. He has the highest health of Floors 9-15, has no visual attack indicators, and unlike the previous floors he periodically gains 5 second True Sight even when an Assassin is in Stealth Stance. Fortunately his lack of CC bars means he is vulnerable to a single CC during most of his attacks, which may be of some relief.
Rotation 100%-92%:
All his attacks in this phase stacks Chill, and causes Freeze on 3 Chill stacks that trigger a damaging Ice Coil.
- Single targeted punch.
- Shadow Dance behind you.
- Frontal 180 degree Leg sweep inflicting Knockdown. If you don't escape, he'll grapple you and snap your neck. Can be grab countered.
- Holds his hands in front of him. This is a Counter, if you hit into it, he inflicts Stun, and if you don't escape he'll air combo you for massive damage and likely kill you.
- Long-ranged linear punch with Knockback and Knockdown. Can't be blocked or CC'd.
- Backstep inflicting Freeze. The Freeze stack can't be blocked.
- Long-ranged linear punch.
If you stand 9 meters or farther away, Naksun does an area of effect jump on you.
If Naksun receives a Knockdown, he does an area of effect spinning kick get-up inflicting Stun, which can lead into an air combo if not escaped from. This is done for all phases.
Rotation 91%-47%:
A message warns “Naksun drinks a bowl of rice wine.” He takes a swig from his cup before performing a field-wide unblockable area of effect explosion. This can’t be CC’d, so iframe it.
A message then warns “Naksun’s Drunken Boxing Skills have improved to Stage 1”, he will lose the ability to cause Chill stacks, but gains the “Drunken Boxing - Stage 1” buff which increases his attack and evasion.
Naksun’s rotation will change, but he loses his ability to cause Chill stacks.
- Two targeted punches.
- One targeted punch.
- Lies down and drinks. This is actually a Counter.
- Frontal inear flame breath with Knockback and Knockdown. Can't be blocked or CC'd.
If you stand 9 meters or farther away, Naksun throws four cups that stacks Ember and does an explosion on 4 stacks. Can be blocked but not CC'd.
Soju/Kaoliang Ju:
Periodically a message warns “Naksun drinks a bottle of Soju/Kaoliang Ju”. He will take a swig from his cup before performing a field-wide unblockable area of effect explosion. Unlike the rice wine from the start of this phase, Naksun can be CC’d out of this, and it is imperative that you do so.
He then does a combo below, regardless of whether you CC'd him or not.
- If you don't CC him and he does the explosion, he’ll will gain “Drunken Boxing - Stage 2” (Soju) or “Drunken Boxing - Stage 3” (Kaoliang Ju), granting him even more attack and evasion. He also gains immunity during his following combo.
- If he drinks Soju, he will throw four cups.
- If he drinks Kaoliang Ju, he does a four-hit martial dance combo, the last hit inflicts Aerial. All hits are blockable.
Rotation 46%-0%:
At the start of this phase, he casts a blue fire unblockable area of effect that inflicts Stun. He loses his Drunken Boxing buffs, but regains the ability to create Chill stacks.
- Linear energy wave inflicting Knockback and Daze. Can't be blocked or CC'd.
- Dash through punch inflicting Daze. Blockable but can't be CC'd.
- Long-ranged linear punch inflicting Knockback and Knockdown. Can't be blocked or CC'd.
- Counter.
- Single targeted punch.
- Shadow Dance behind you.
- Frontal 180 degree Leg sweep inflicting Knockdown.
- Backstep with Freeze and Ice Coil.
If you stand 9 meters or farther away, Naksun performs a four-hit martial dance combo, the last hit inflicts Aerial.
Freezing Mist:
Periodically Naksun does a special attack:
- Naksun jumps to the middle and casts a field-wide unblockable two-hit area of effect after a grunting noise and the ice swirl around his feet are at 270 degrees. The first hit is a Phantom Grip and the second is a knockback.
- Naksun performs a four-hit martial dance combo, the last hit inflicts Aerial. At the same time, icicles fall on random spots, producing an unblockable area of effect that inflicts Knockback and Knockdown and leaves a frost puddle that inflicts Chill.
- If you have bought a Kaoliang Ju damage immunity potion from Chungsil on Floor 13, it is recommended to use them before the icicles fall.
- If you have bought a Kaoliang Ju damage immunity potion from Chungsil on Floor 13, it is recommended to use them before the icicles fall.
Note that his health cannot be brought down to 0; when hit at 1 HP, he will have a little dialogue and end the fight.